Hi loves, my favorite social media platform by far is Instagram. There is something special about a photo that speaks to you….tells a story…invokes a feeling. Instagram is the most visual platform and most engaged platform for one reason…people love photos. From taking pics of their fur baby, to what they are eating to their favorite travel destinations, we get to see the everyday world of millions of people in tiny little squares.
One of the questions I get a lot of DM messages about is how I edit my photos for Instagram. Your feed is like your calling card right. It speaks volumes about you, your mood, your tastes. Yeah it says a lot, so you want to make sure you make it as aesthetically pleasing as possible. Like it or not, people love to look at a pretty Instagram feed. A key to help you get there, is to edit your photos. There is WAY more to curating a pretty feed, but in this post, I’m sharing my top 3 must have apps and what I use them for. If you don’t follow me on Instagram be sure to click over here and do it. Let’s get this party going shall we.
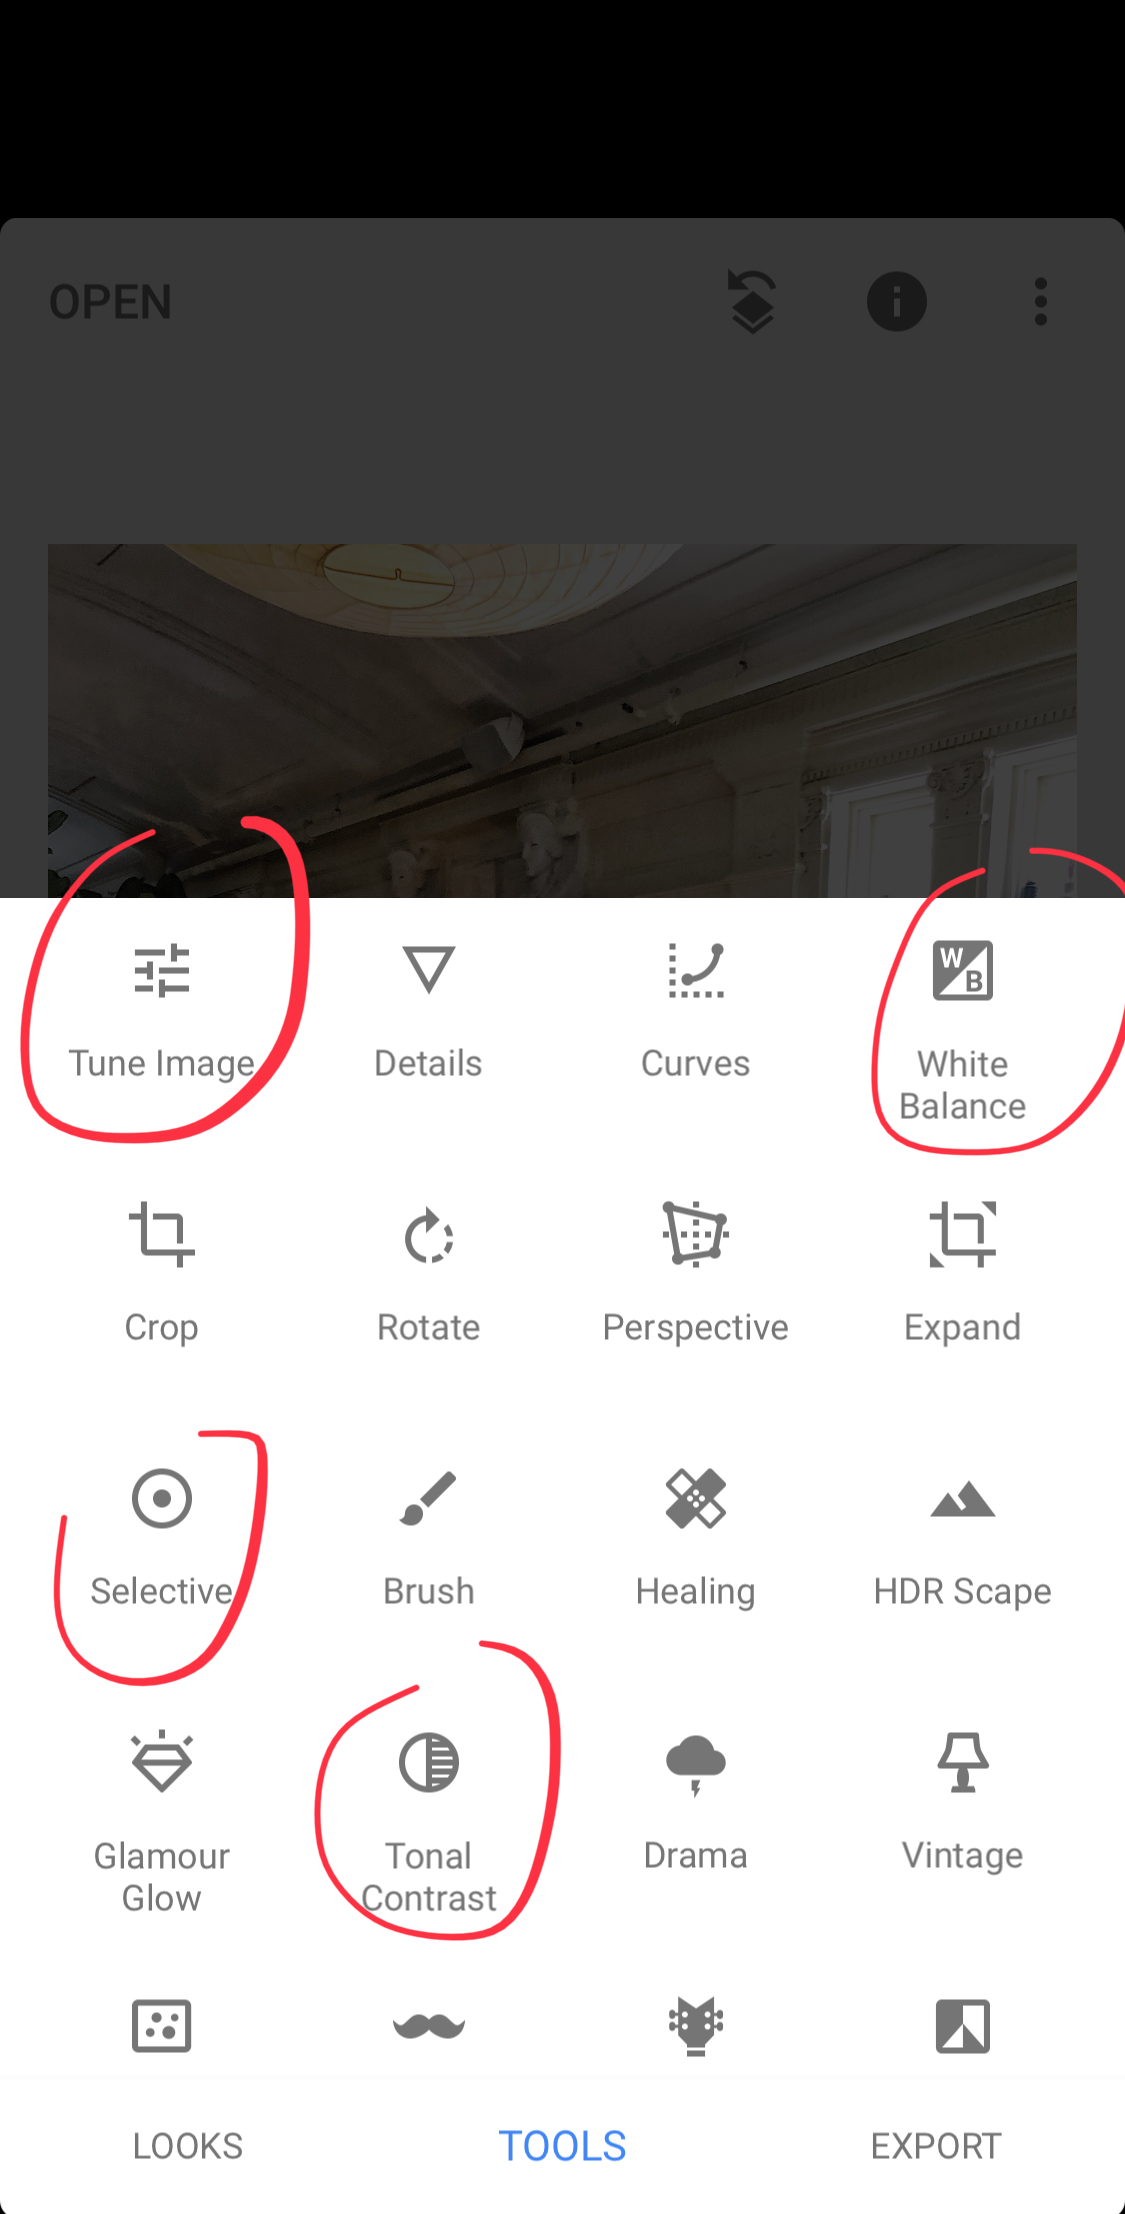
1st Snapseed: (Snapseed, FYI, is owned by Google) OK like literally I don’t know what I would do without Snapseed. It’s legit my most used app. Every photo I edit ends in Snapseed. Because yes, it can take using 2-3 apps to get your photo to look the way you want it to. The features I use the most are White Balance (to take out any pesky yellow tones in the photo), Tune Image, Tonal Contrast Selective (to target specific spots to edit) and details. Any specific questions about these features, feel free to ask me in a comment.

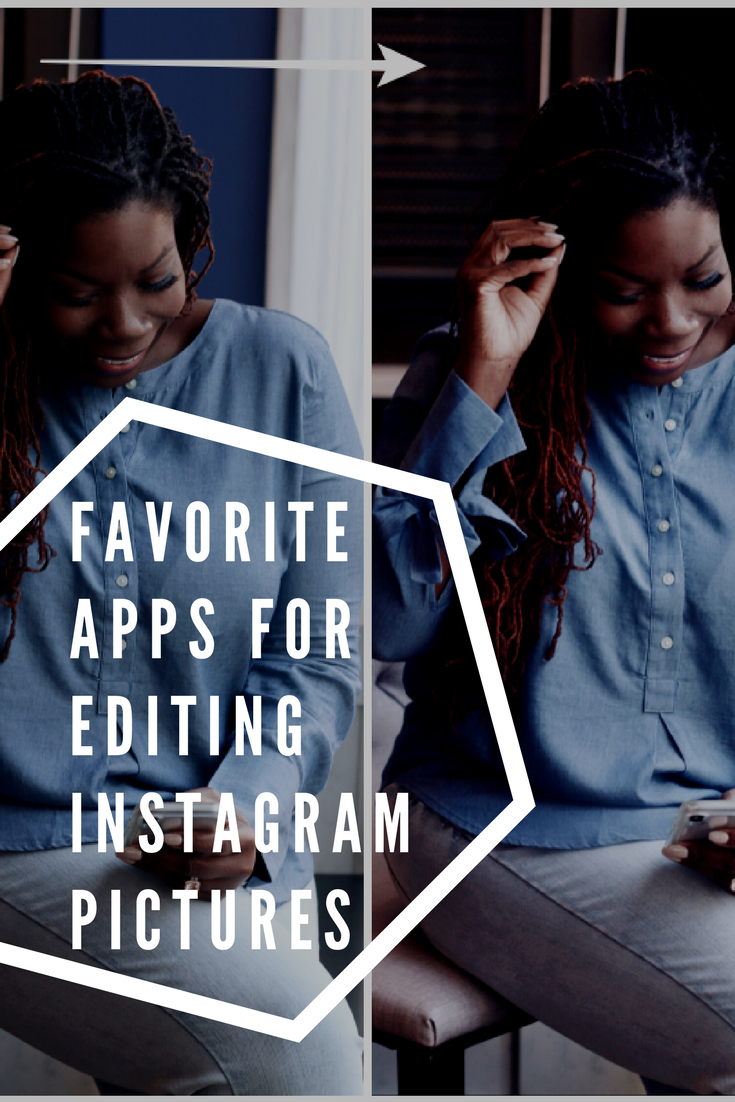
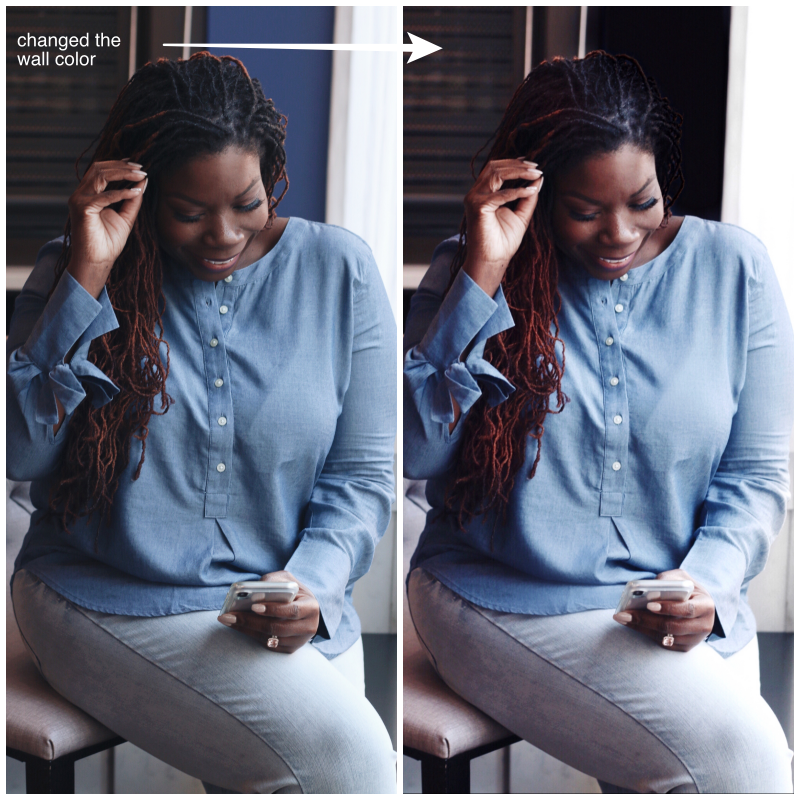
2nd Facetune: Facetune isn’t just for the face although the smooth feature, when not overused, can let anyone’s skin look good huuuuuny. It also has a White Feature, to help brighten white areas in a photo, and the Patch feature which is great for removing things that don’t belong like a cigarette on the ground or a piece of lint on your clothes. I also use red eye to fix any red eye dots I get. Tone is also a great feature to bring one color of the photo to another. For example, in the photo below, I didn’t think the indigo paint color in the background went well with my feed, so I used the Tones feature to bring the black color from the left wall over to the indigo color side.
3rd ColorStory: I LOVE ColorStory. Many people talk about VSCO filters, but to me most of them can be very moody type filters and I like my feed to look light/bright with some contrast. Besides using the Everyday filter on my photos, I also LOVE the curve feature. It really helps to brighten the photo a little more if needed. Recently, they just updated the app to have a GRID feature so that you can organize and plan your feed by playing and moving around a photo to see where you like it best. This feature also saves you time by letting you write your captions before they go live. Super time saving.
There is so much more to these apps, and most of the time, my photos are edited in all three, in one way or another, before they hit my feed. I know, it’s a lot to do, but it’s so worth it. I hope this has helped and again, if you have any questions, let me know.

I’m using Snapseed and FaceTune also and love those features (especially the skin smoothing!) just wondering what you use for blurring backgrounds…I always struggle with that.
Hi Tushe, you are using great apps. So blurred backgrounds are not an app I use, that’s how the pictures are shot in the camera. That’s called depth to ratio. Not sure what camera you use, but check the manual and also youtube 🙂