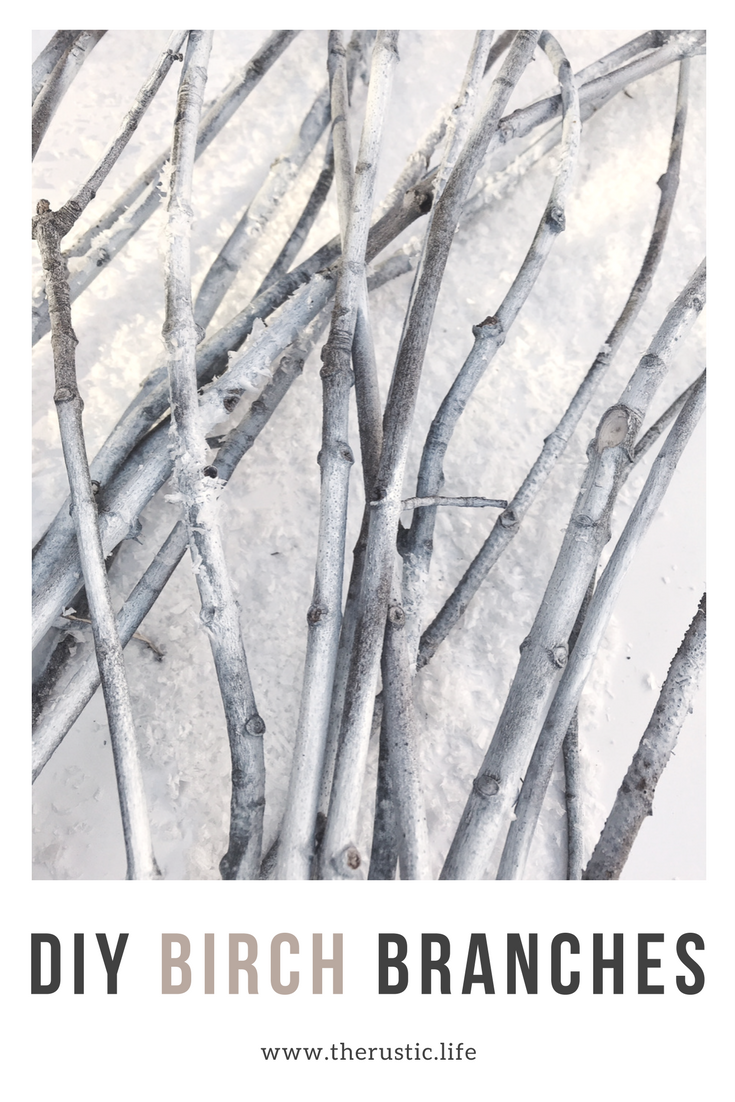
Hi loves, Christmas and the season for Christmas decorating is in full swing. I’m so happy I started early this year. Talk about less pressure! Have you started decorating yet? A few weeks ago, on a whim, I decided to try my hand at making DIY birch branches (more like birch sticks). It was so easy and this easy DIY birch branch project literally took me 45 minutes . (this included sourcing thin branches from a pile in the backyard). Honestly, these are just really cute and a great way to add more texture to floral picks you have picked up and are using.
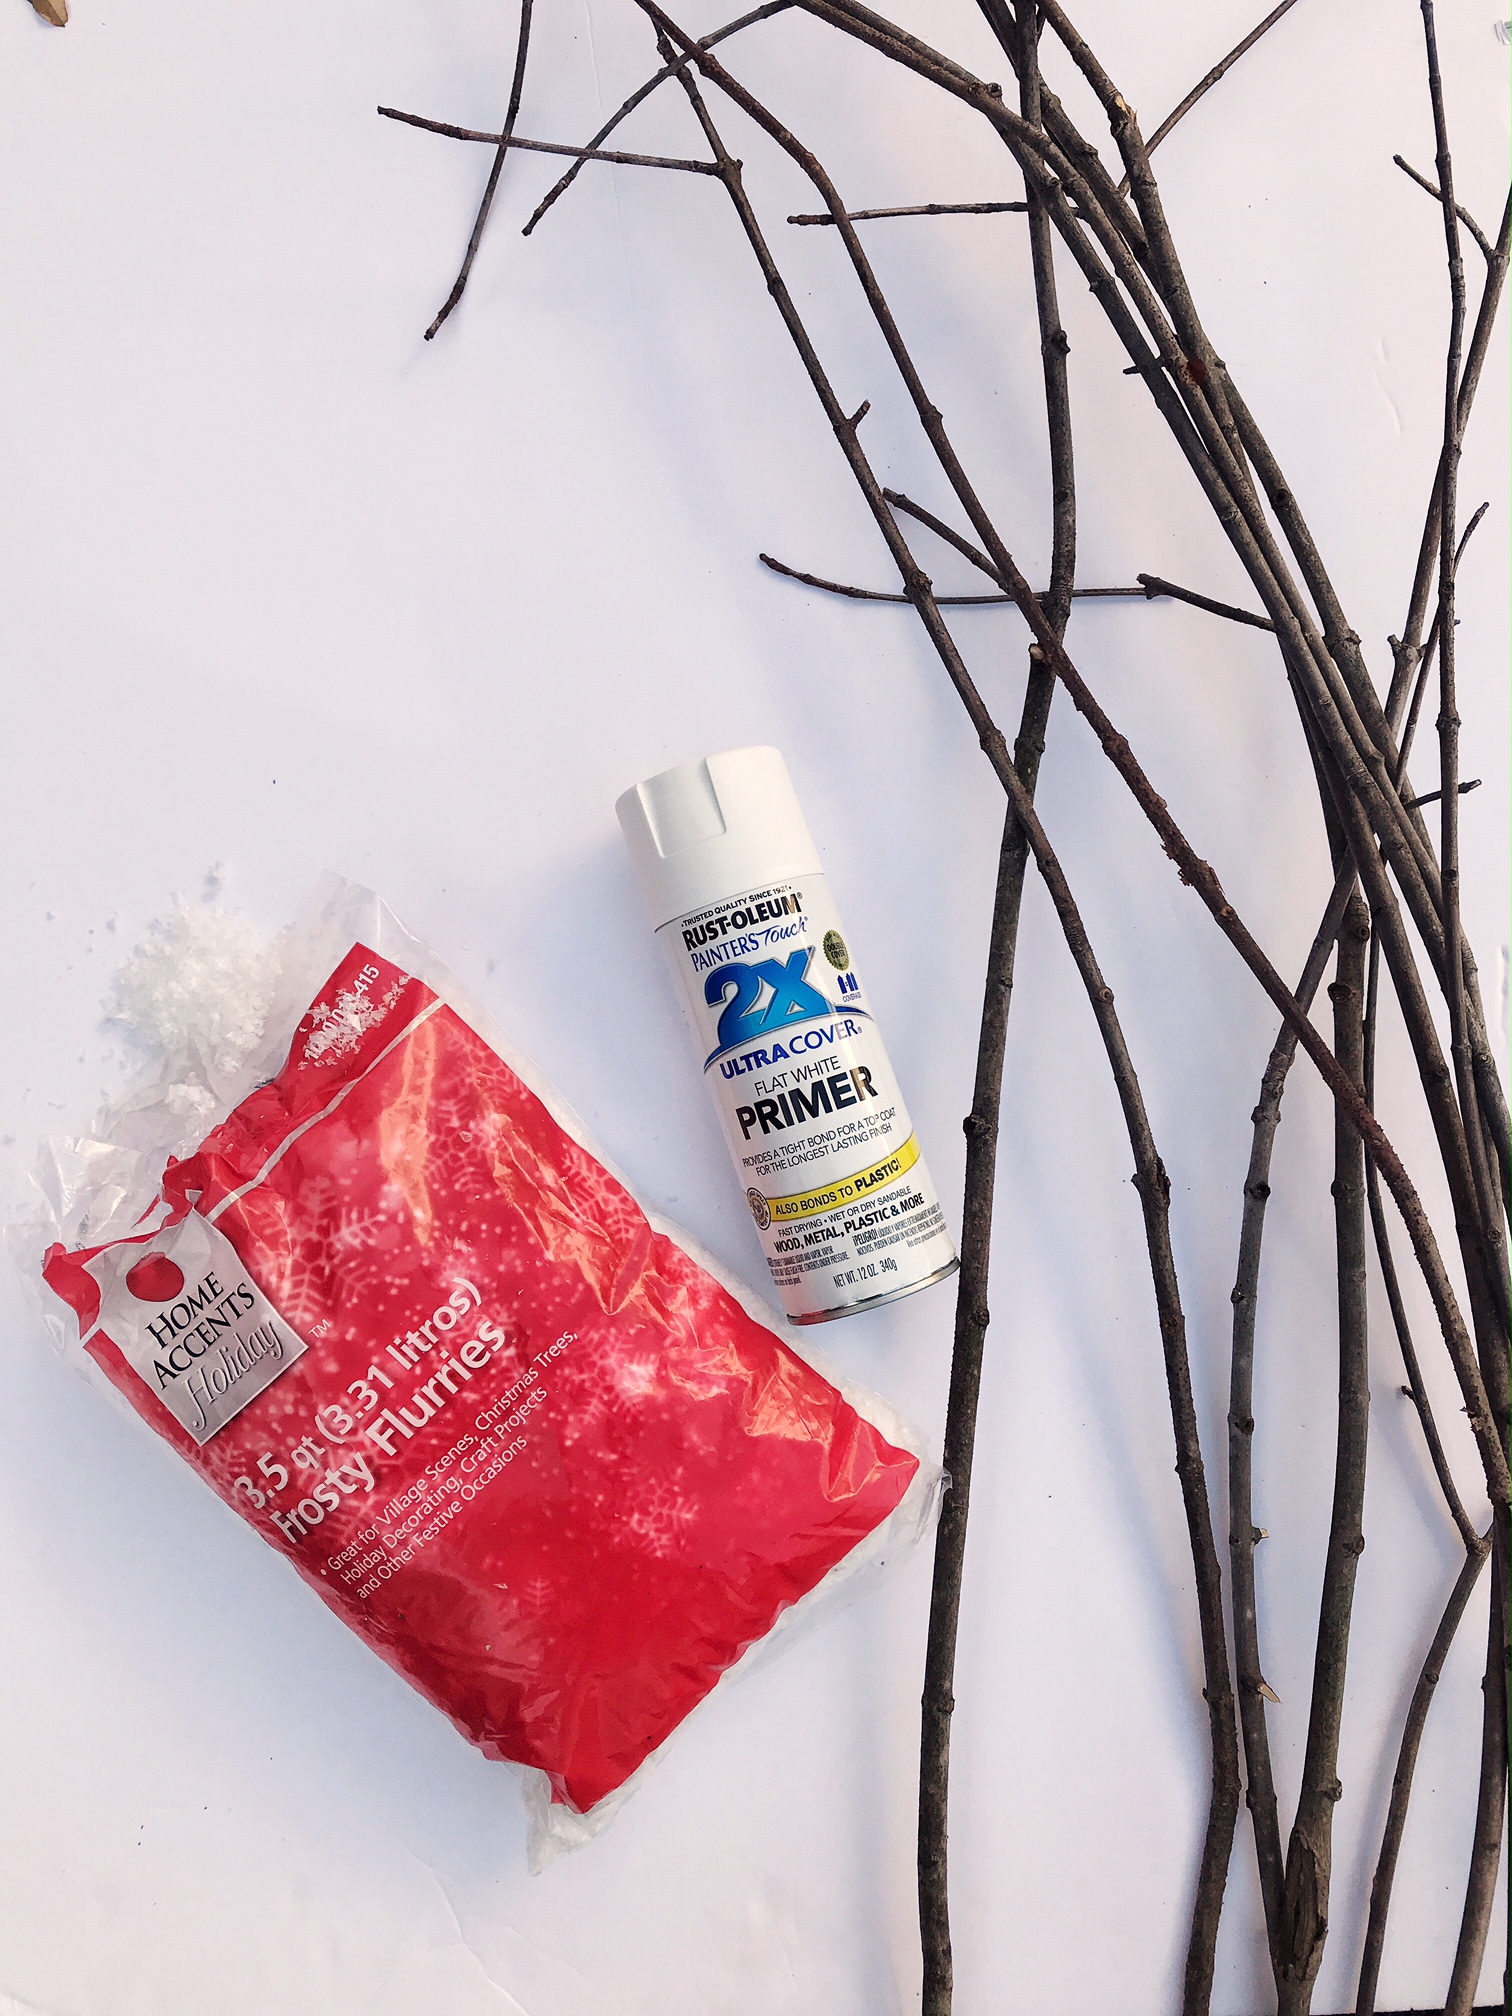
WHAT YOU NEED:
1. Matte (Flat) Spray Paint or Primer. I liked this primer because of the 2X cover of finish. But spray paint is fine as well
2. Fake Snow (this bag cost me $2 at Home Depot and it is OPTIONAL) to be honest, not much and I mean not much of it stuck to the branches at all. So again, optional.
3. Branches
4. Something to protect the surface you are spraying
WHAT TO DO:
I held each branch up one at a time and spay painted them in the air in the opposite direction of the wind. You just don’t want over spray getting on surfaces you don’t want spray paint on (i.e the car). After spraying each one, I then laid the branch down and pressed the snow on in different spots of the branch. Some snow stayed, most didn’t but I like the parts that did have snow stuck to them. (you can see parts with snow up close on the Pinterest graphic) p.s. don’t forge to pin this 🙂
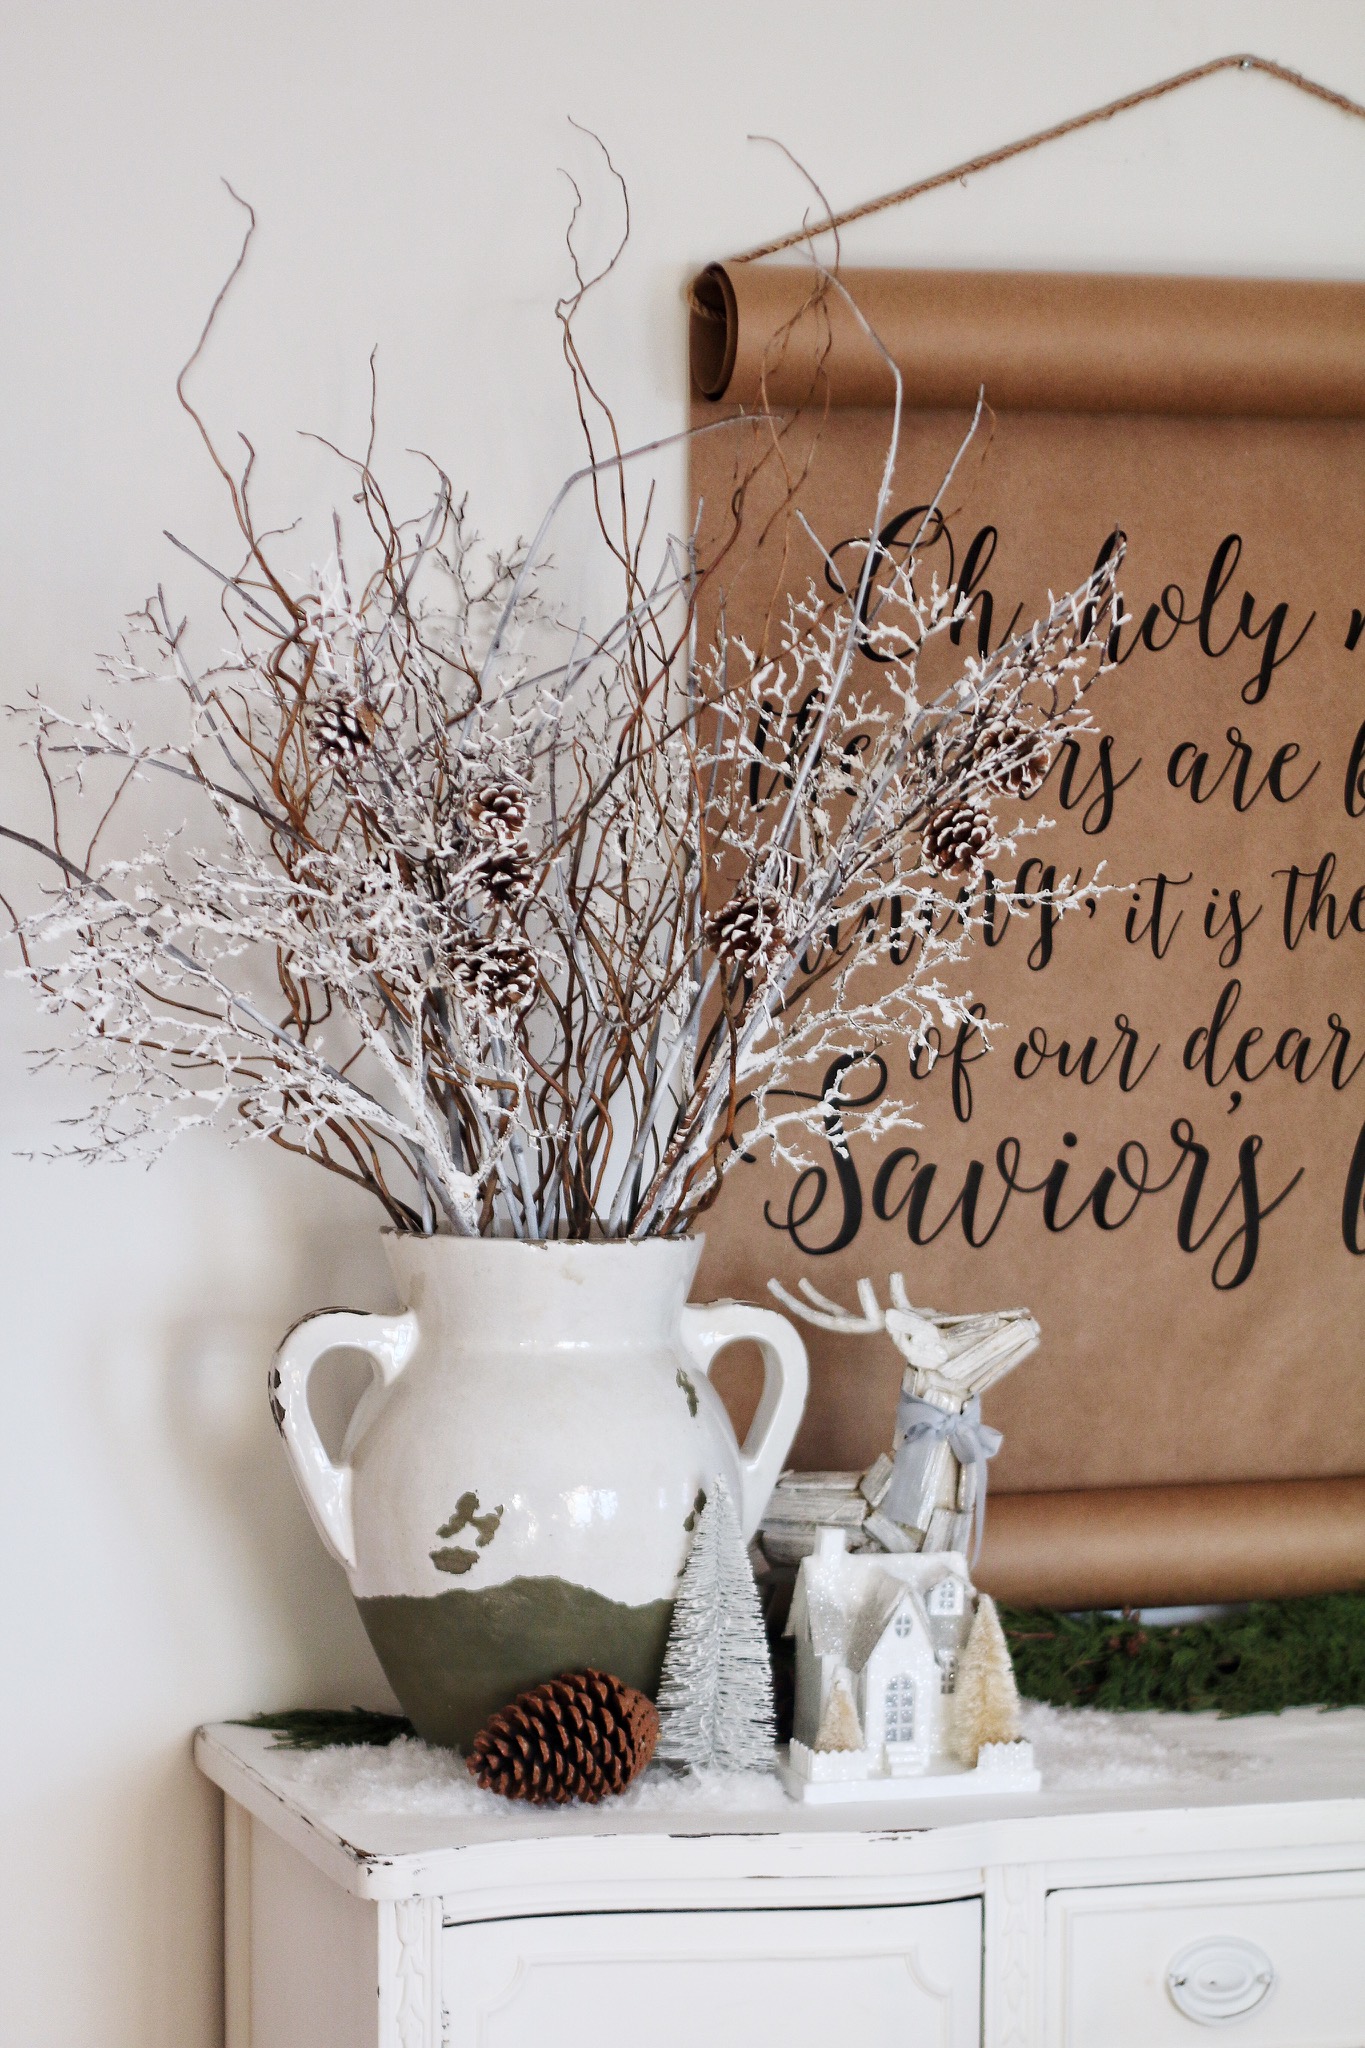
They branches dried quickly and I arranged them with the willow branches I already had and the newly acquired snow covered picks, I purchased this year from Michael’s.
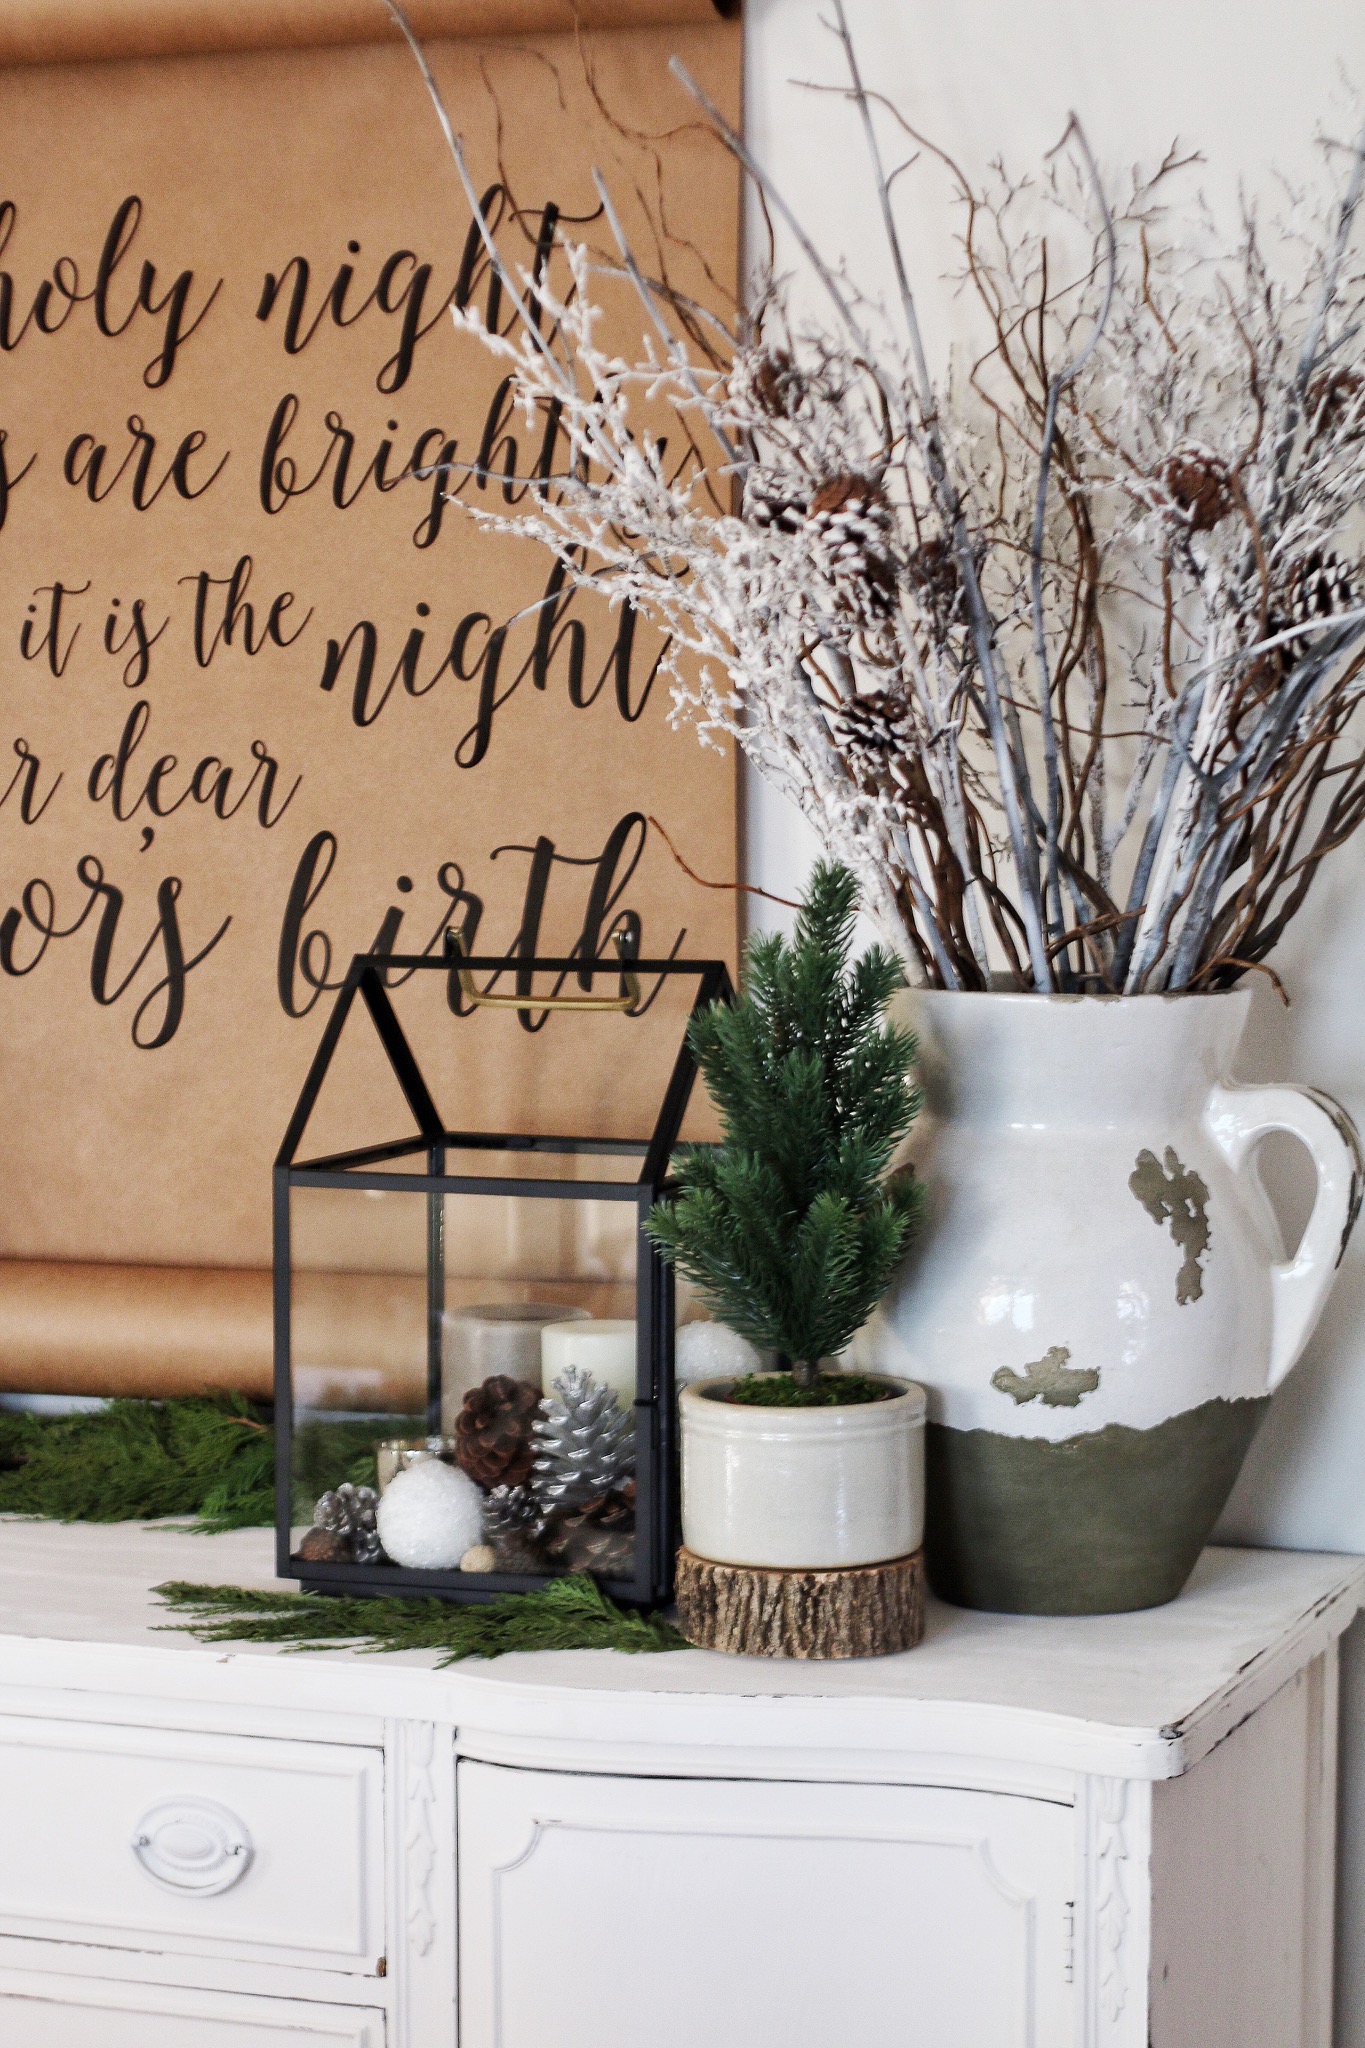
As you can see, the branches were an affordable way to save money as extra filler for the vase. I love how this easy project came out. Give it a shot.
SHOP THIS POST: