
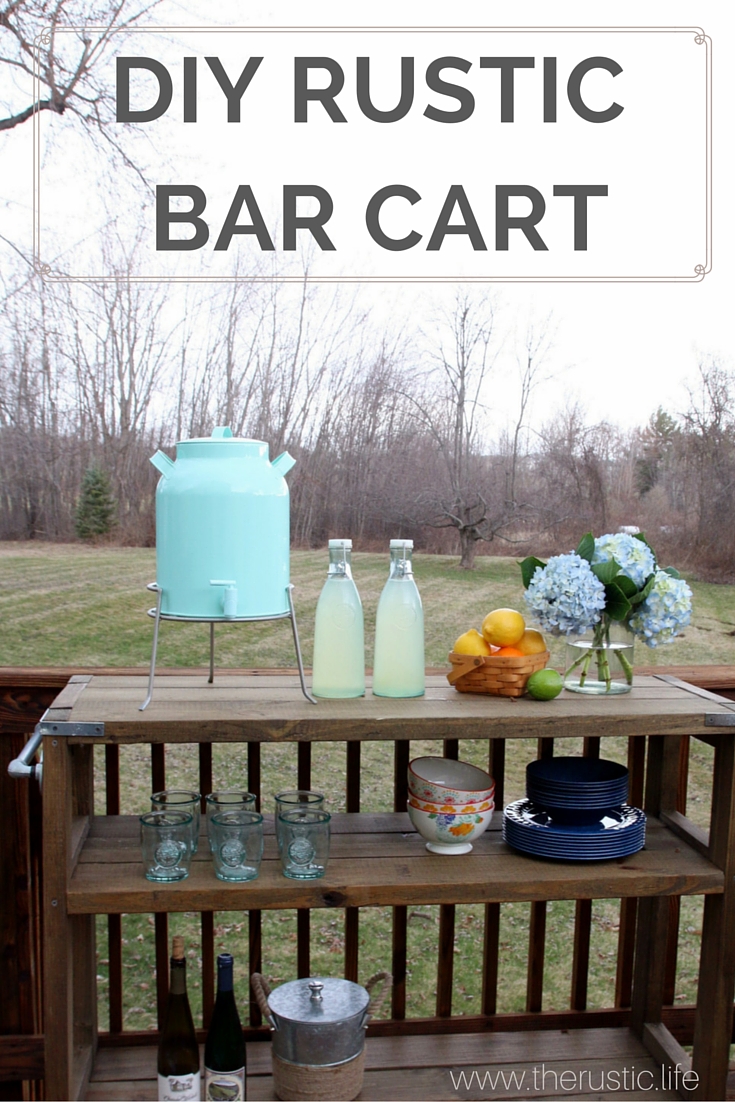
For those of you that follow me on Instagram (therusticlife) and on snapchat (sandradownie) you know that I’ve been working on a patio style challenge for The Home Depot. It’s almost done and ready to be revealed on their blog, so I can’t wait to be able to share that with you all. In the meantime, I wanted to share one of the DIY projects we did. I love entertaining and I thought this was an opportune time to make an industrial bar cart. It’s so frustrating to have to run in and out of the house for serving items and drinks and I knew that would solve the problem.
WHAT YOU WILL NEED:
2 2″ x 4″ x 8′ (pressure treated if used outside)
3 2″ x 6″ x 10 (pressure treated if used outside)
Electric Drill (Impact Driver)
Saw (Circular or Mitter)
Sander or sanding paper
Tape Measurer
Level
4 1/2″ screws
2 1/2″ screws
2″ screws
4 caster wheels
2 corner brackets
2 12 x 1/2″ diameter plumbing pipes
4 1/2 plumbing flanges
4 90 degree MPT x FPT street elbow
Thompson Spray Sealant (for water proofing)
Miniwax (color of choice) we used the color Special Walnut
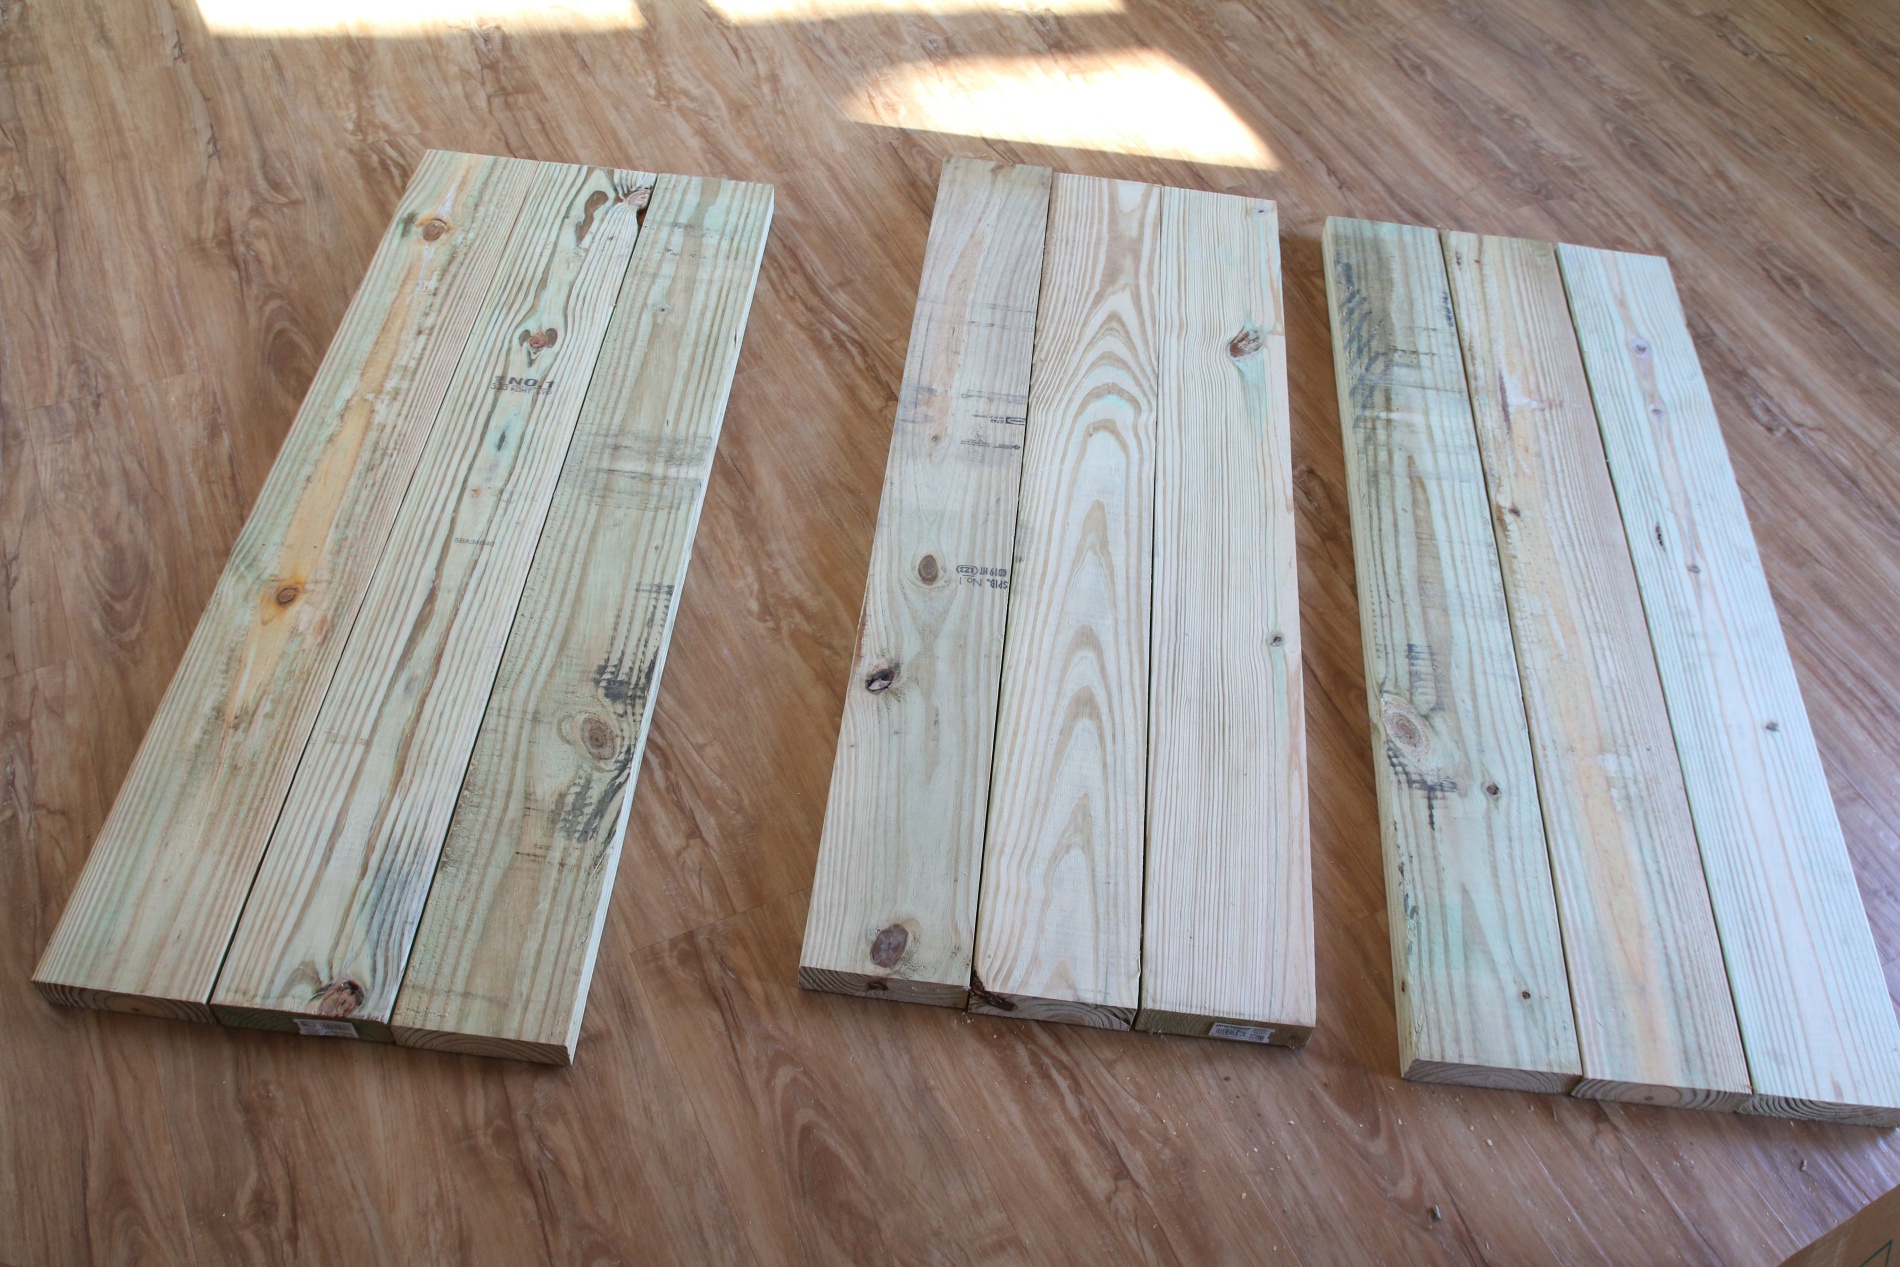
Cut your 2 x6 into 9 44 1/2″ pieces. Use two pieces of scrap wood to attach them as braces underneath using 2 1/2″ screws (these can be removed after the cart is put together)

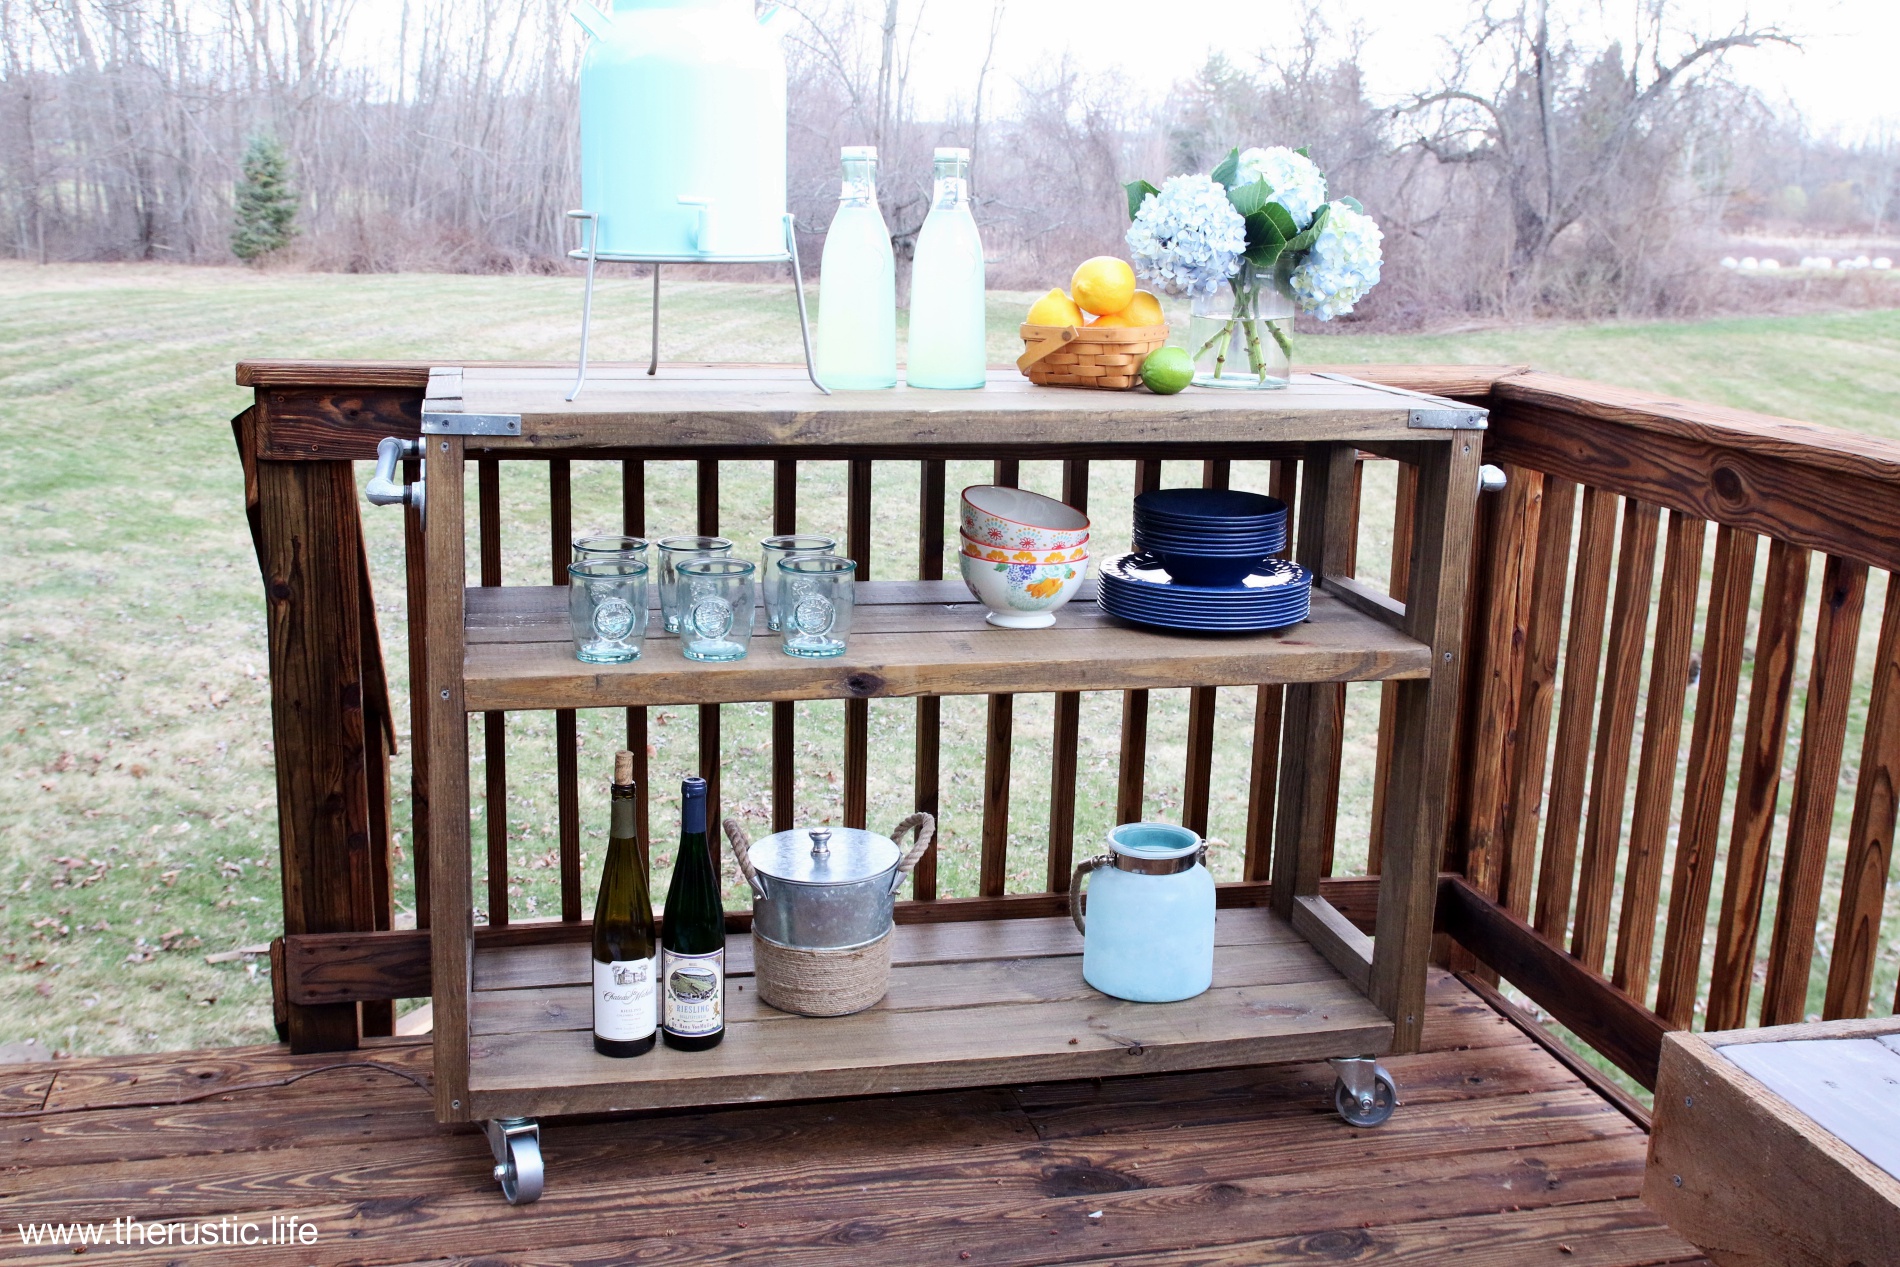
Build the side using the 2 x 4s. Cut your 2 x 4 into 4 (four) 32″ high pieces and cut 6 (six) 9 and 3/4″ pieces. Next screw the pieces together with the 4 1/2″ screws to form the side frames. Attach the top piece to the top of frame using 4″ screws, ensuring you use 2 screws per length of 2 x 6

Attach the bottom in the same fashion as the above instructions. Next attach the middle 9 and 3/4″ 2 section of the frame which will hold the middle shelf. Attach the middle shelving to the middle side bracket of the frame. Repeat the above steps for the other side, taking care to align the shelves to be as level as possible.

Next turn the piece upside down and attach the caster wheels (we got all our supplies from Home Depot). Next sand the entire piece using 80 grit paper. Stain to your desired color. Attach piping on the sides in your desired position (near the top or middle) as well as the corner brackets using 2″ screws. (if you choose to, we were going to but changed our mind) you can spray paint the casters and brackets a darker color if you want. Lastly, if using outside, seal the piece with Thompson’s spray Water Seal.
Love this! Think I’m going to adapt these plans and create a potting bench 🙂
I bet it will be awesome Allison!
OMG this is super awesome. I will have to try something like this. I’m trying to figure out how you attached the bottom section to the top. Any who, thanks for sharing 🙂
Hi Angela, the bottom sections are attached to the sides 🙂
Hi Sandra,
I love the outdoor bar ideas and you have a good one here. You make it look so easy 🙂 You could actually stain that a really rich warm color and it would look awesome. Definitely an idea to try.
Thanks,
Elizabeth
Thank you so much Elizabeth!
Hi Sandra, would it be possible for you to share how much it cost to complete this project?
Hi Sophie went spent under $100