
Hi loves, I figured, it’s still quite early in the new year and there is so much I’m looking forward to sharing with you all in 2018. You know when you have something that you really want to do but time doesn’t really seem to be on your side. Yeah, that’s how I felt for much of the last few months of 2017. We have been in this home for a year now and have made several updates, from simple things like painting and changing light fixtures to updating our 80’s kitchen to a farmhouse style kitchen. If you haven’t seen that post, check out the kitchen up date on this post.
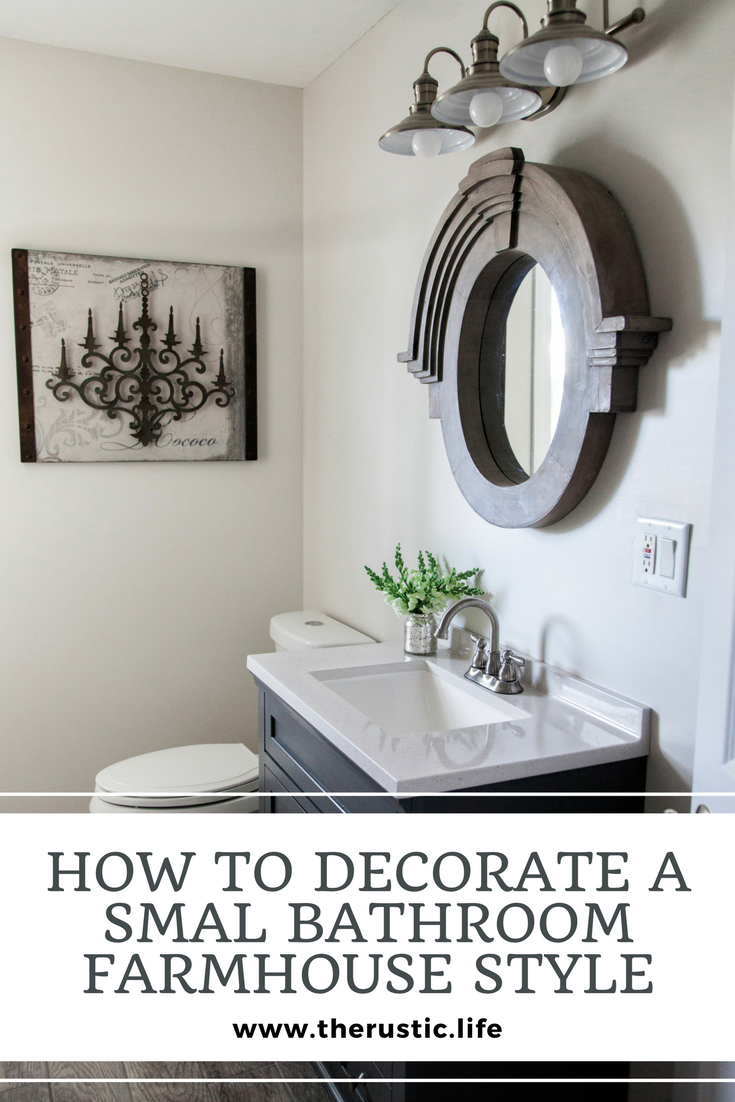
When we moved into this place, I really couldn’t deal with the look of the bathroom. Now I’m not gonna say it was the worst bathroom I’ve seen, but it certainly wasn’t my taste and I knew I could update it easily without spending a whole lot of money in the process. It’s a small bathroom so that was a challenge in and of itself so I had two things I wanted to accomplish with this bathroom update. 1. How to make it feel bigger and 2. Ways to create extra storage space.
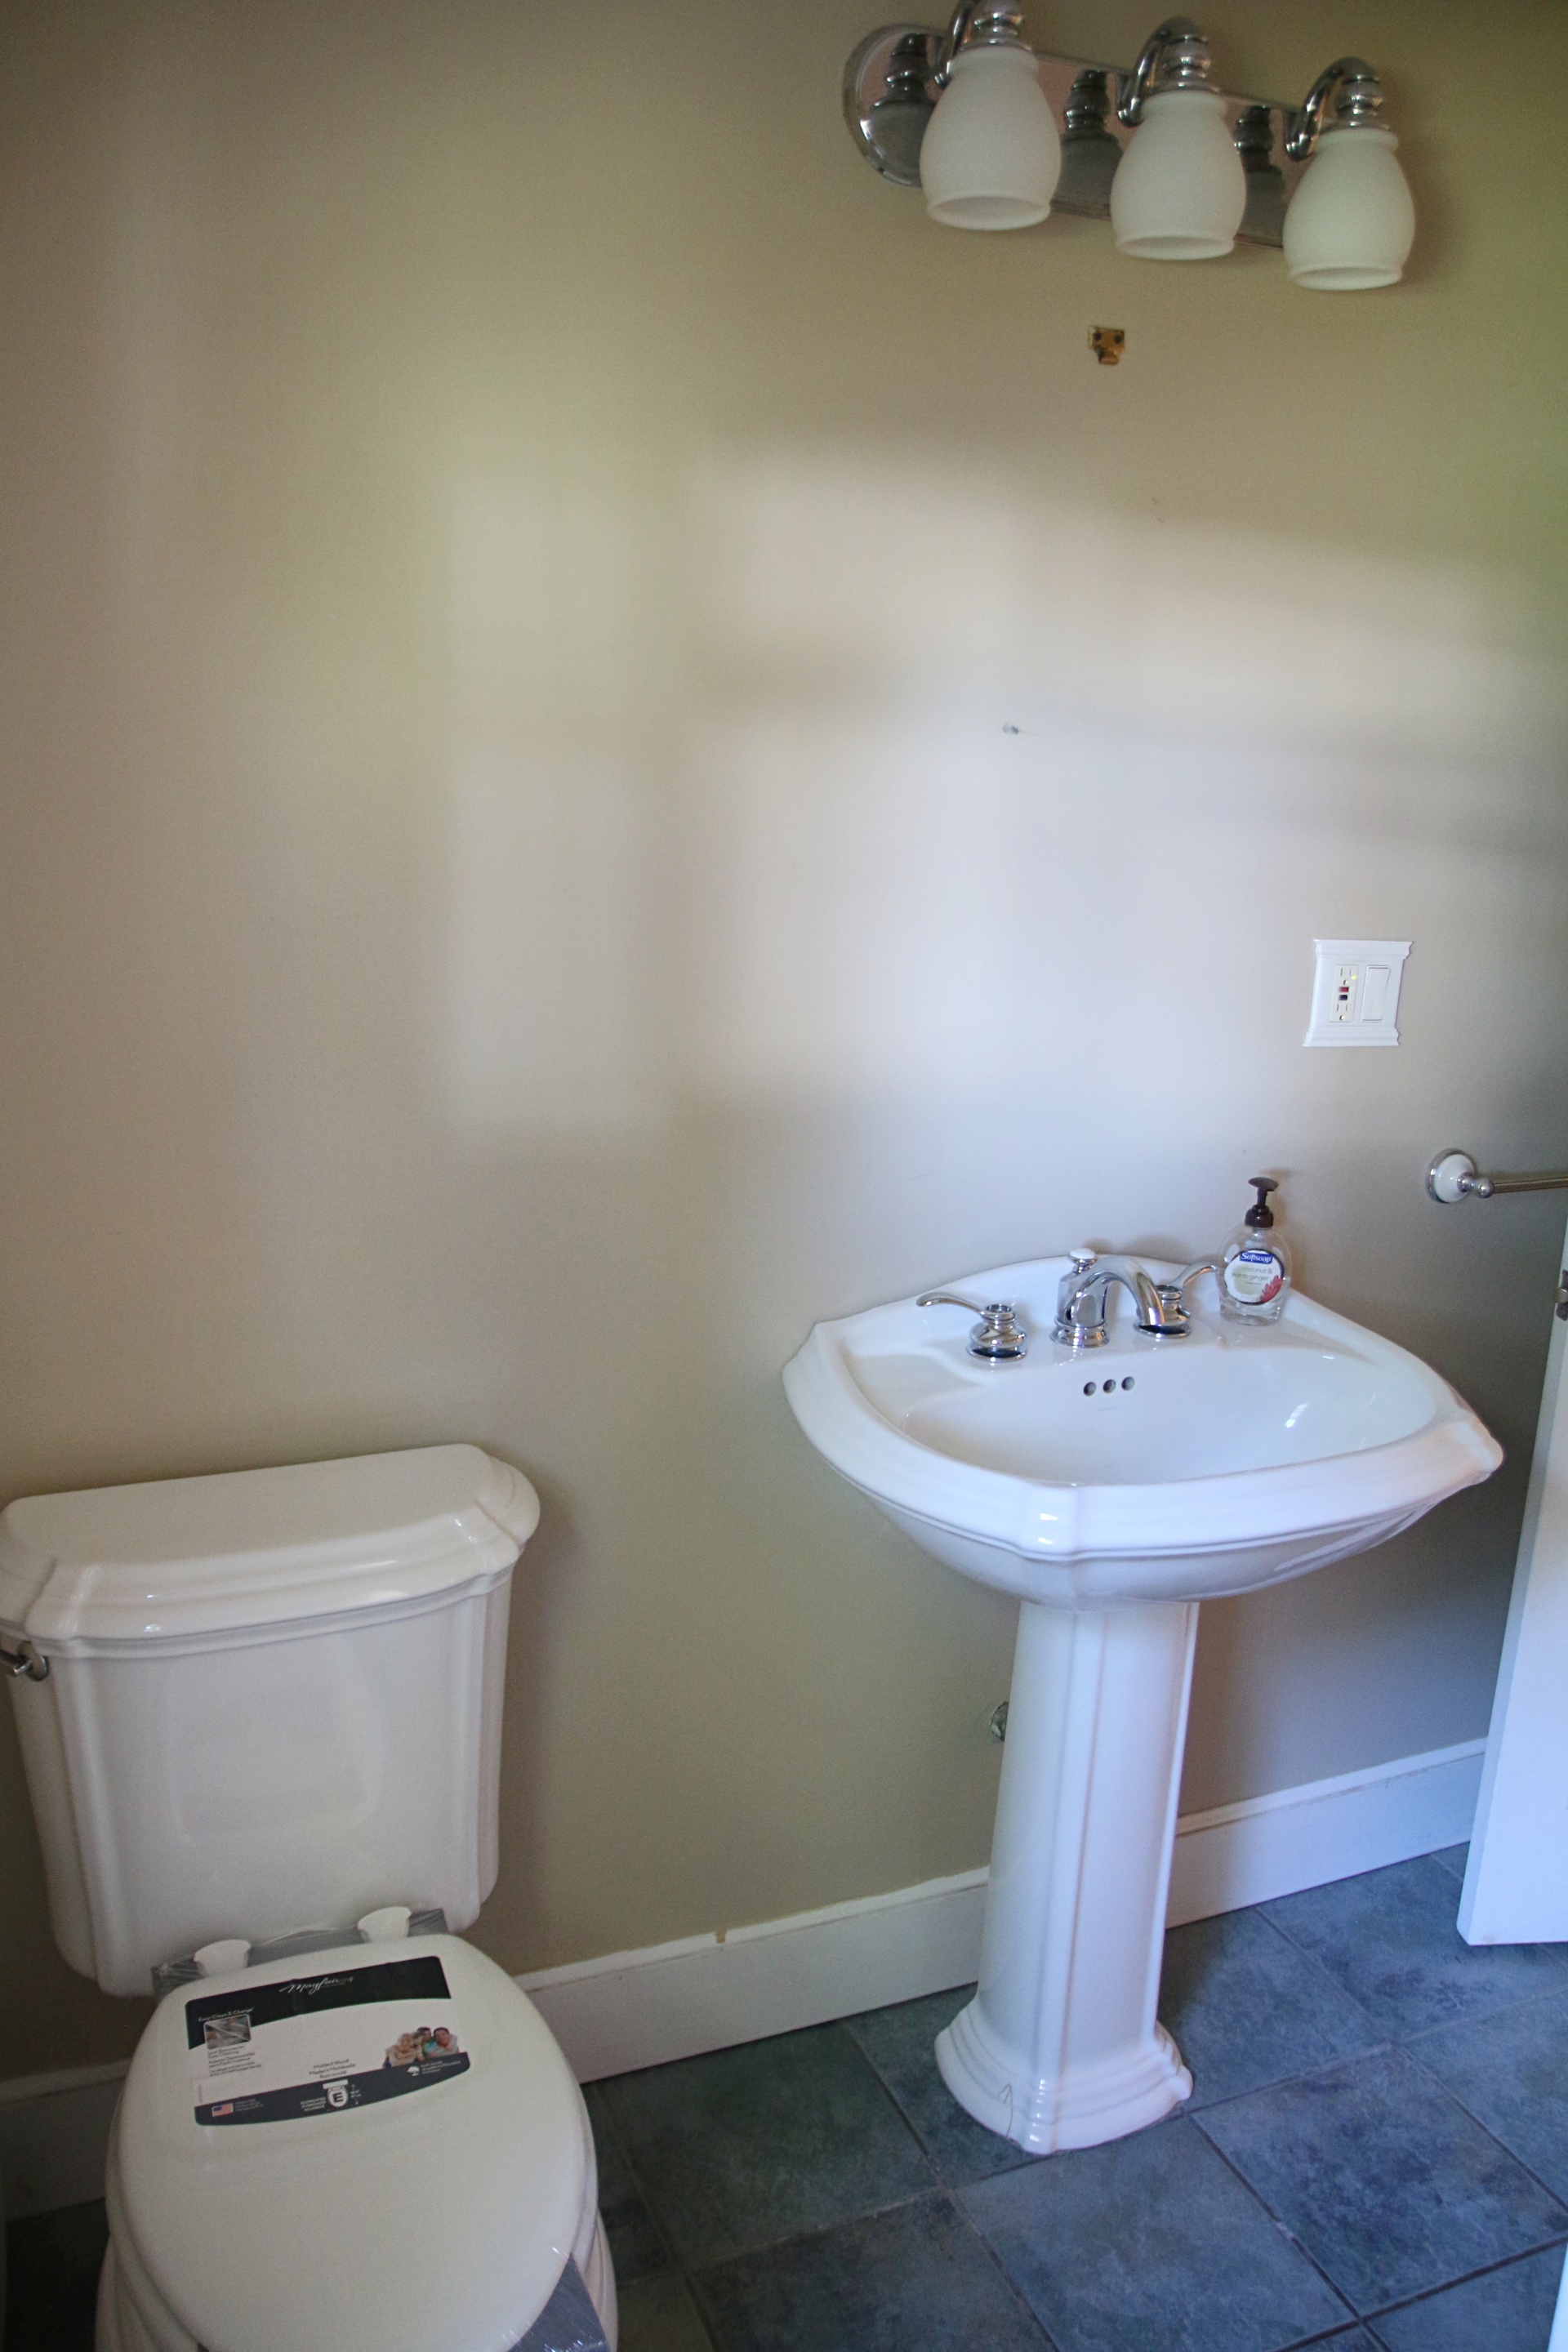
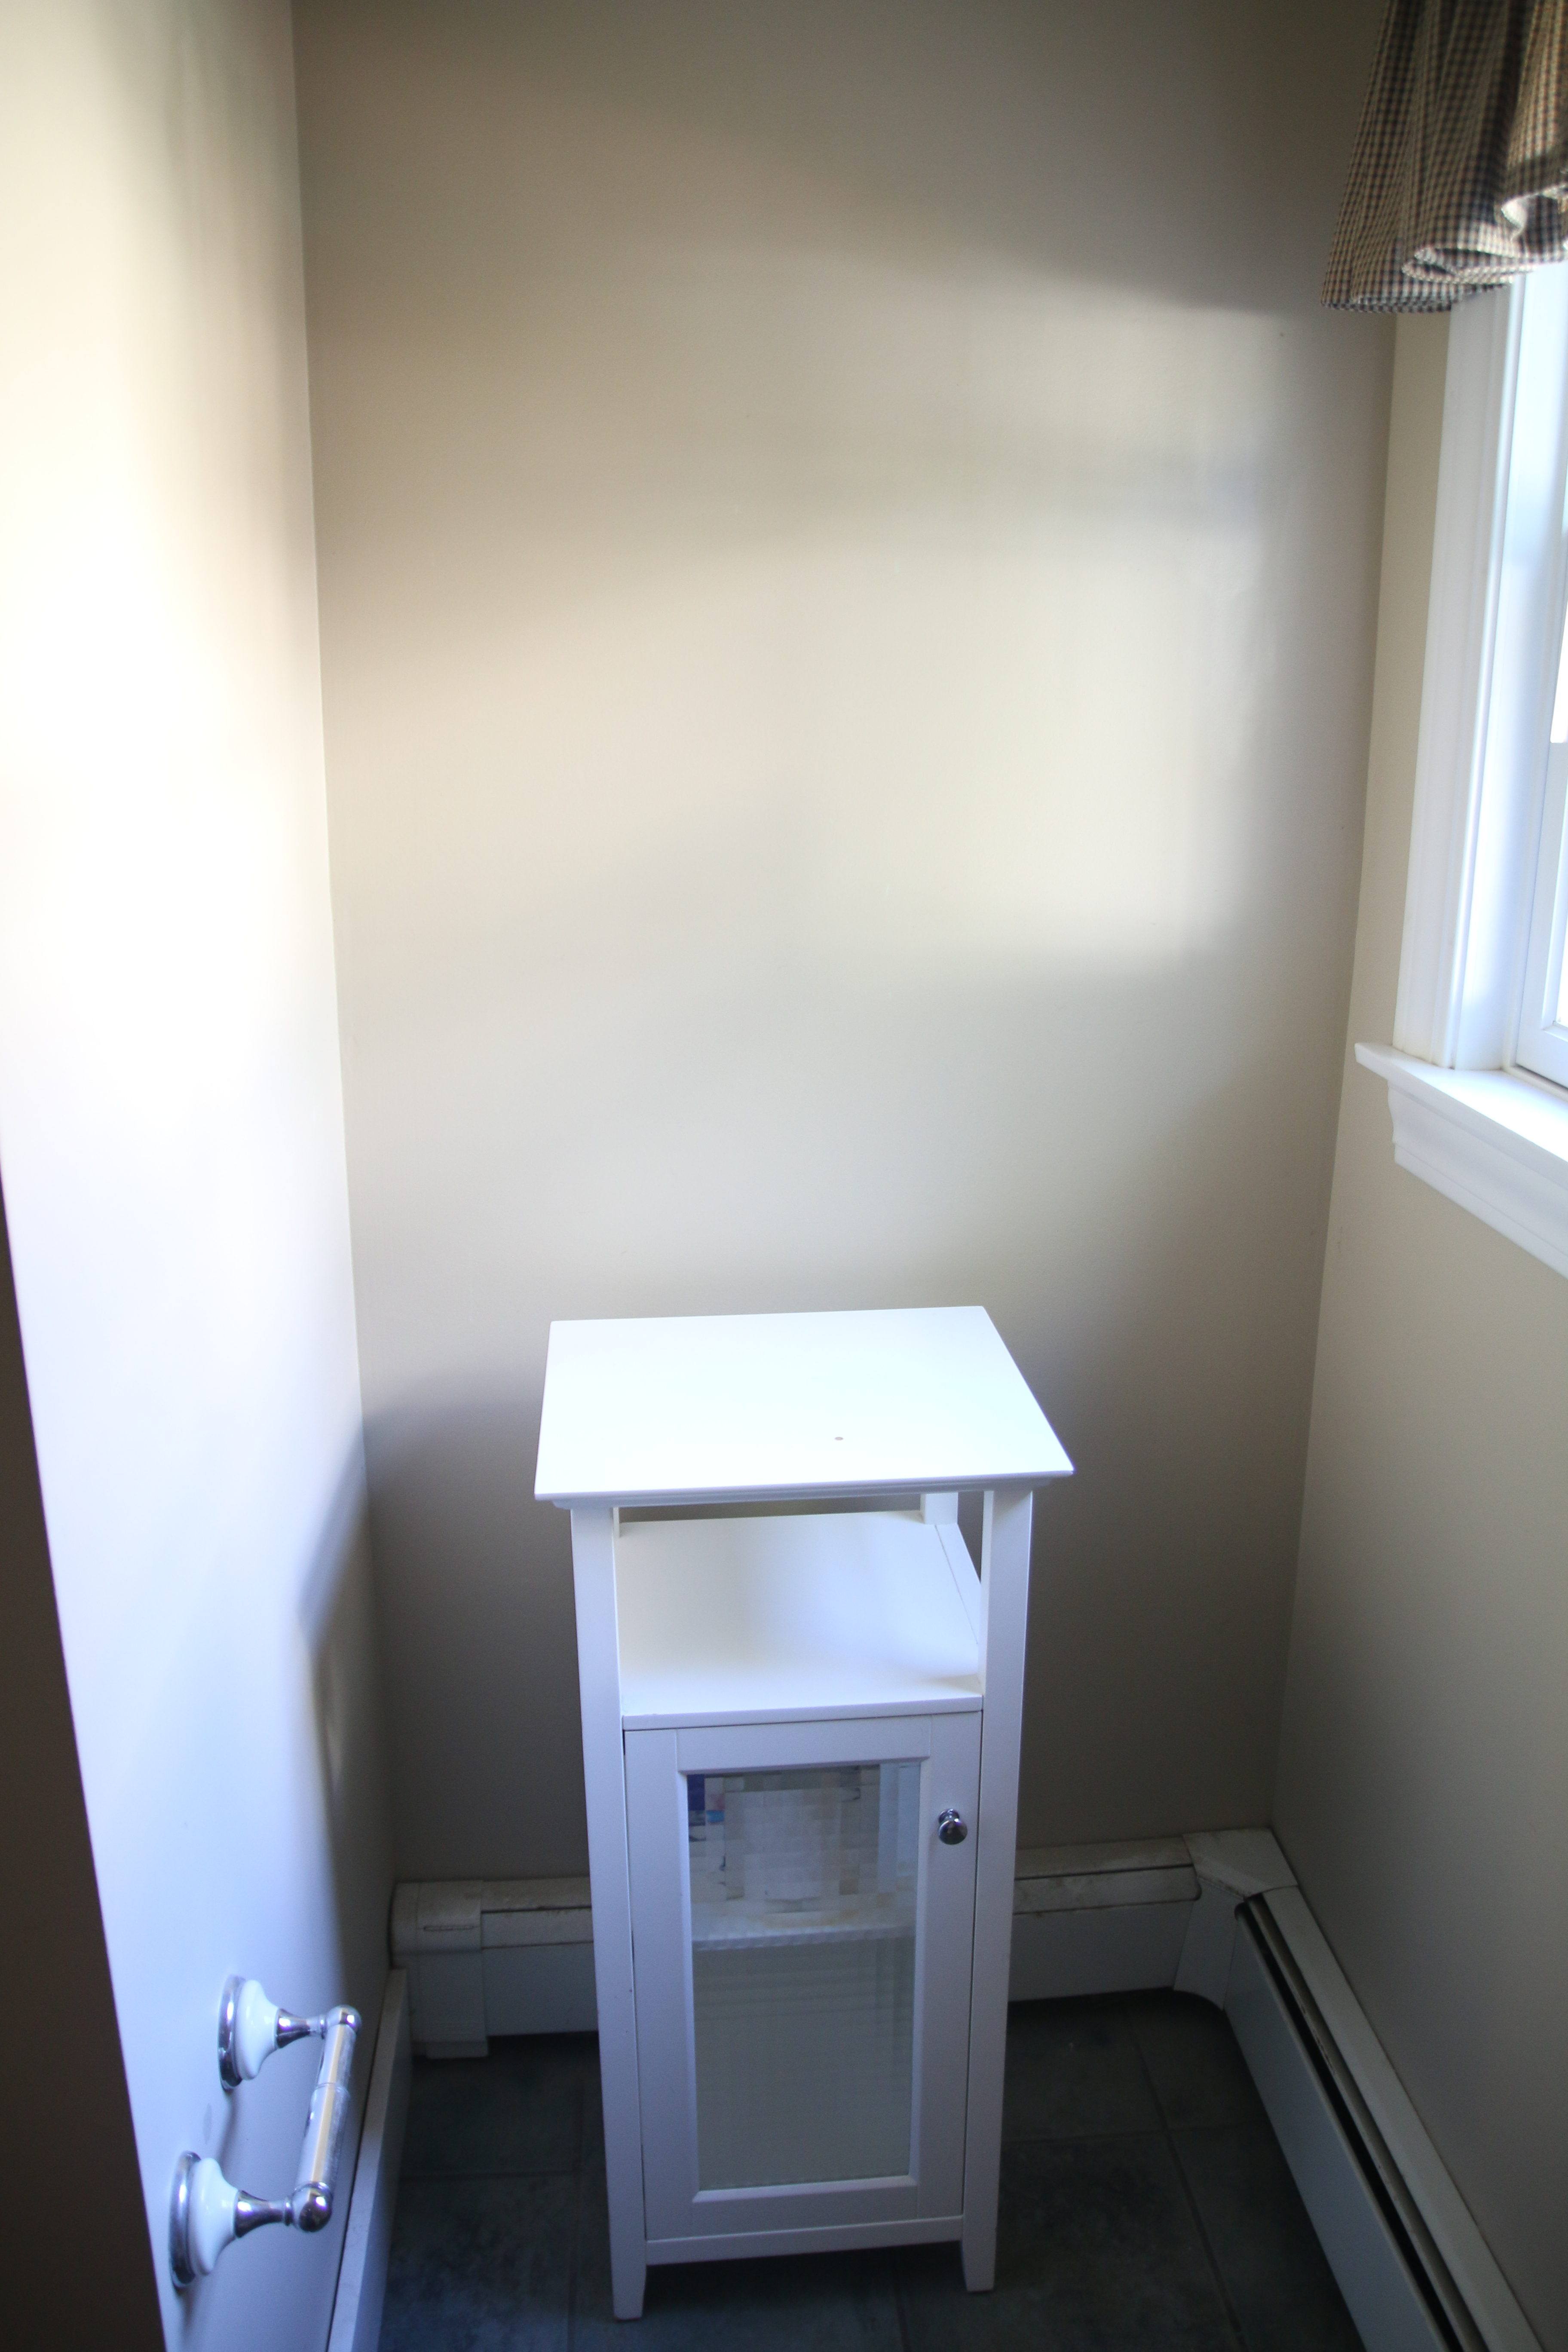
BEFORE:

HOW I MADE IT FEEL BIGGER:
The main thing I did to make the space feel bigger was to use a VERY light wall paint color. I didn’t want white as there was so much of it in the rest of the house and I didn’t want a deeper grey so I found a happy medium by mixing Harbor Grey and Simply white from Benjamin Moore. BATHROOM PAINTING TIP: Be sure to use a paint that is designed specifically for the bathroom, so that it can stand up to the many showers that will be taken over time. The condensation from shower steam can wreak havoc over time if you don’t use the right paint. Next was the floor tile. Not going with a dark tile was key to keeping the space feeling bright and open as much as possible. The floor title was outdated, dark and dingy. I wasn’t quite sure whether I would go with tile that looked like wood or not. So I found a happy medium and went with a wood grain textured grey ceramic tile.
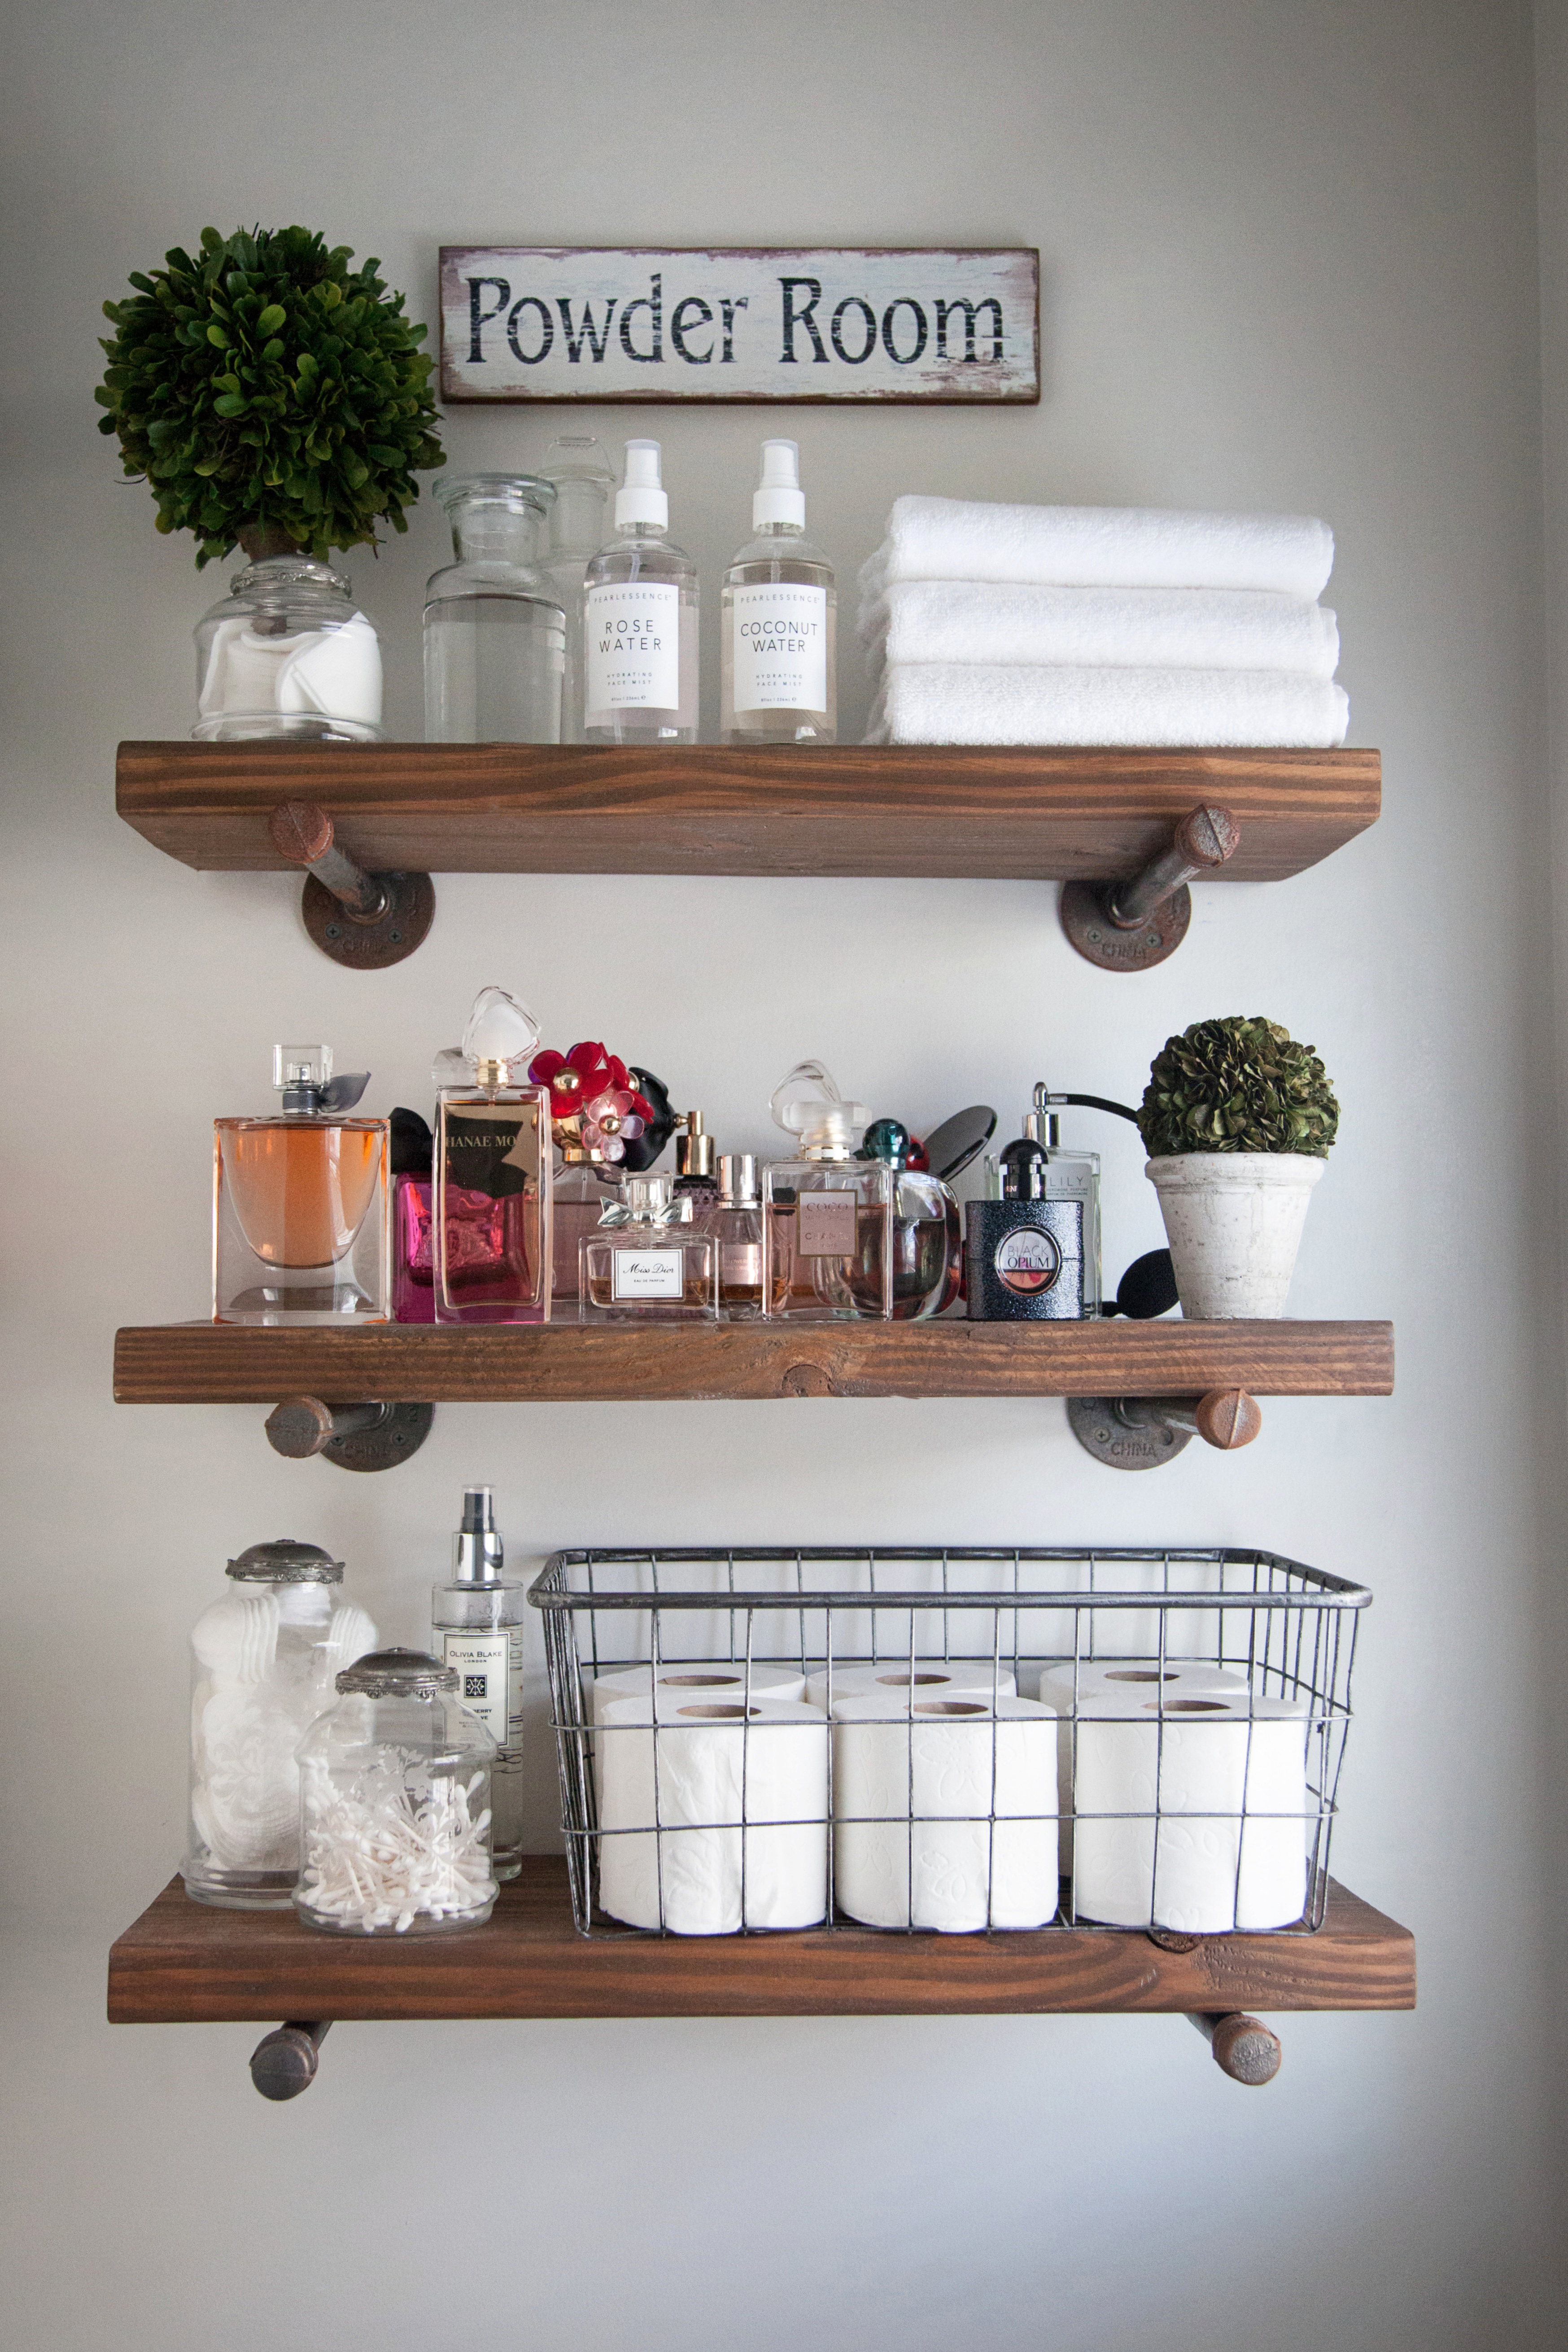
HOW I CREATED EXTRA STORAGE SPACE:
Since the bathroom is on the smaller side, I really wanted to maximize the space for storage. So I choose a vanity that had a few draws and a side area for storage. In addition to a vanity that was designed for additional storage, we installed open shelves. Open shelving is ideal for creating storage solutions that also feels open and makes items more accessible. The key to making open shelving look neat is to make sure everything has a place. For example I used a wire basket to store the toilet paper. Notice how much nicer this looks than if I would have had them just sitting on the shelf. It’s little details such as those that makes a bathroom look like one you would find in a little boutique hotel. The vanity we got from Home Depot
METAL FINISHES:
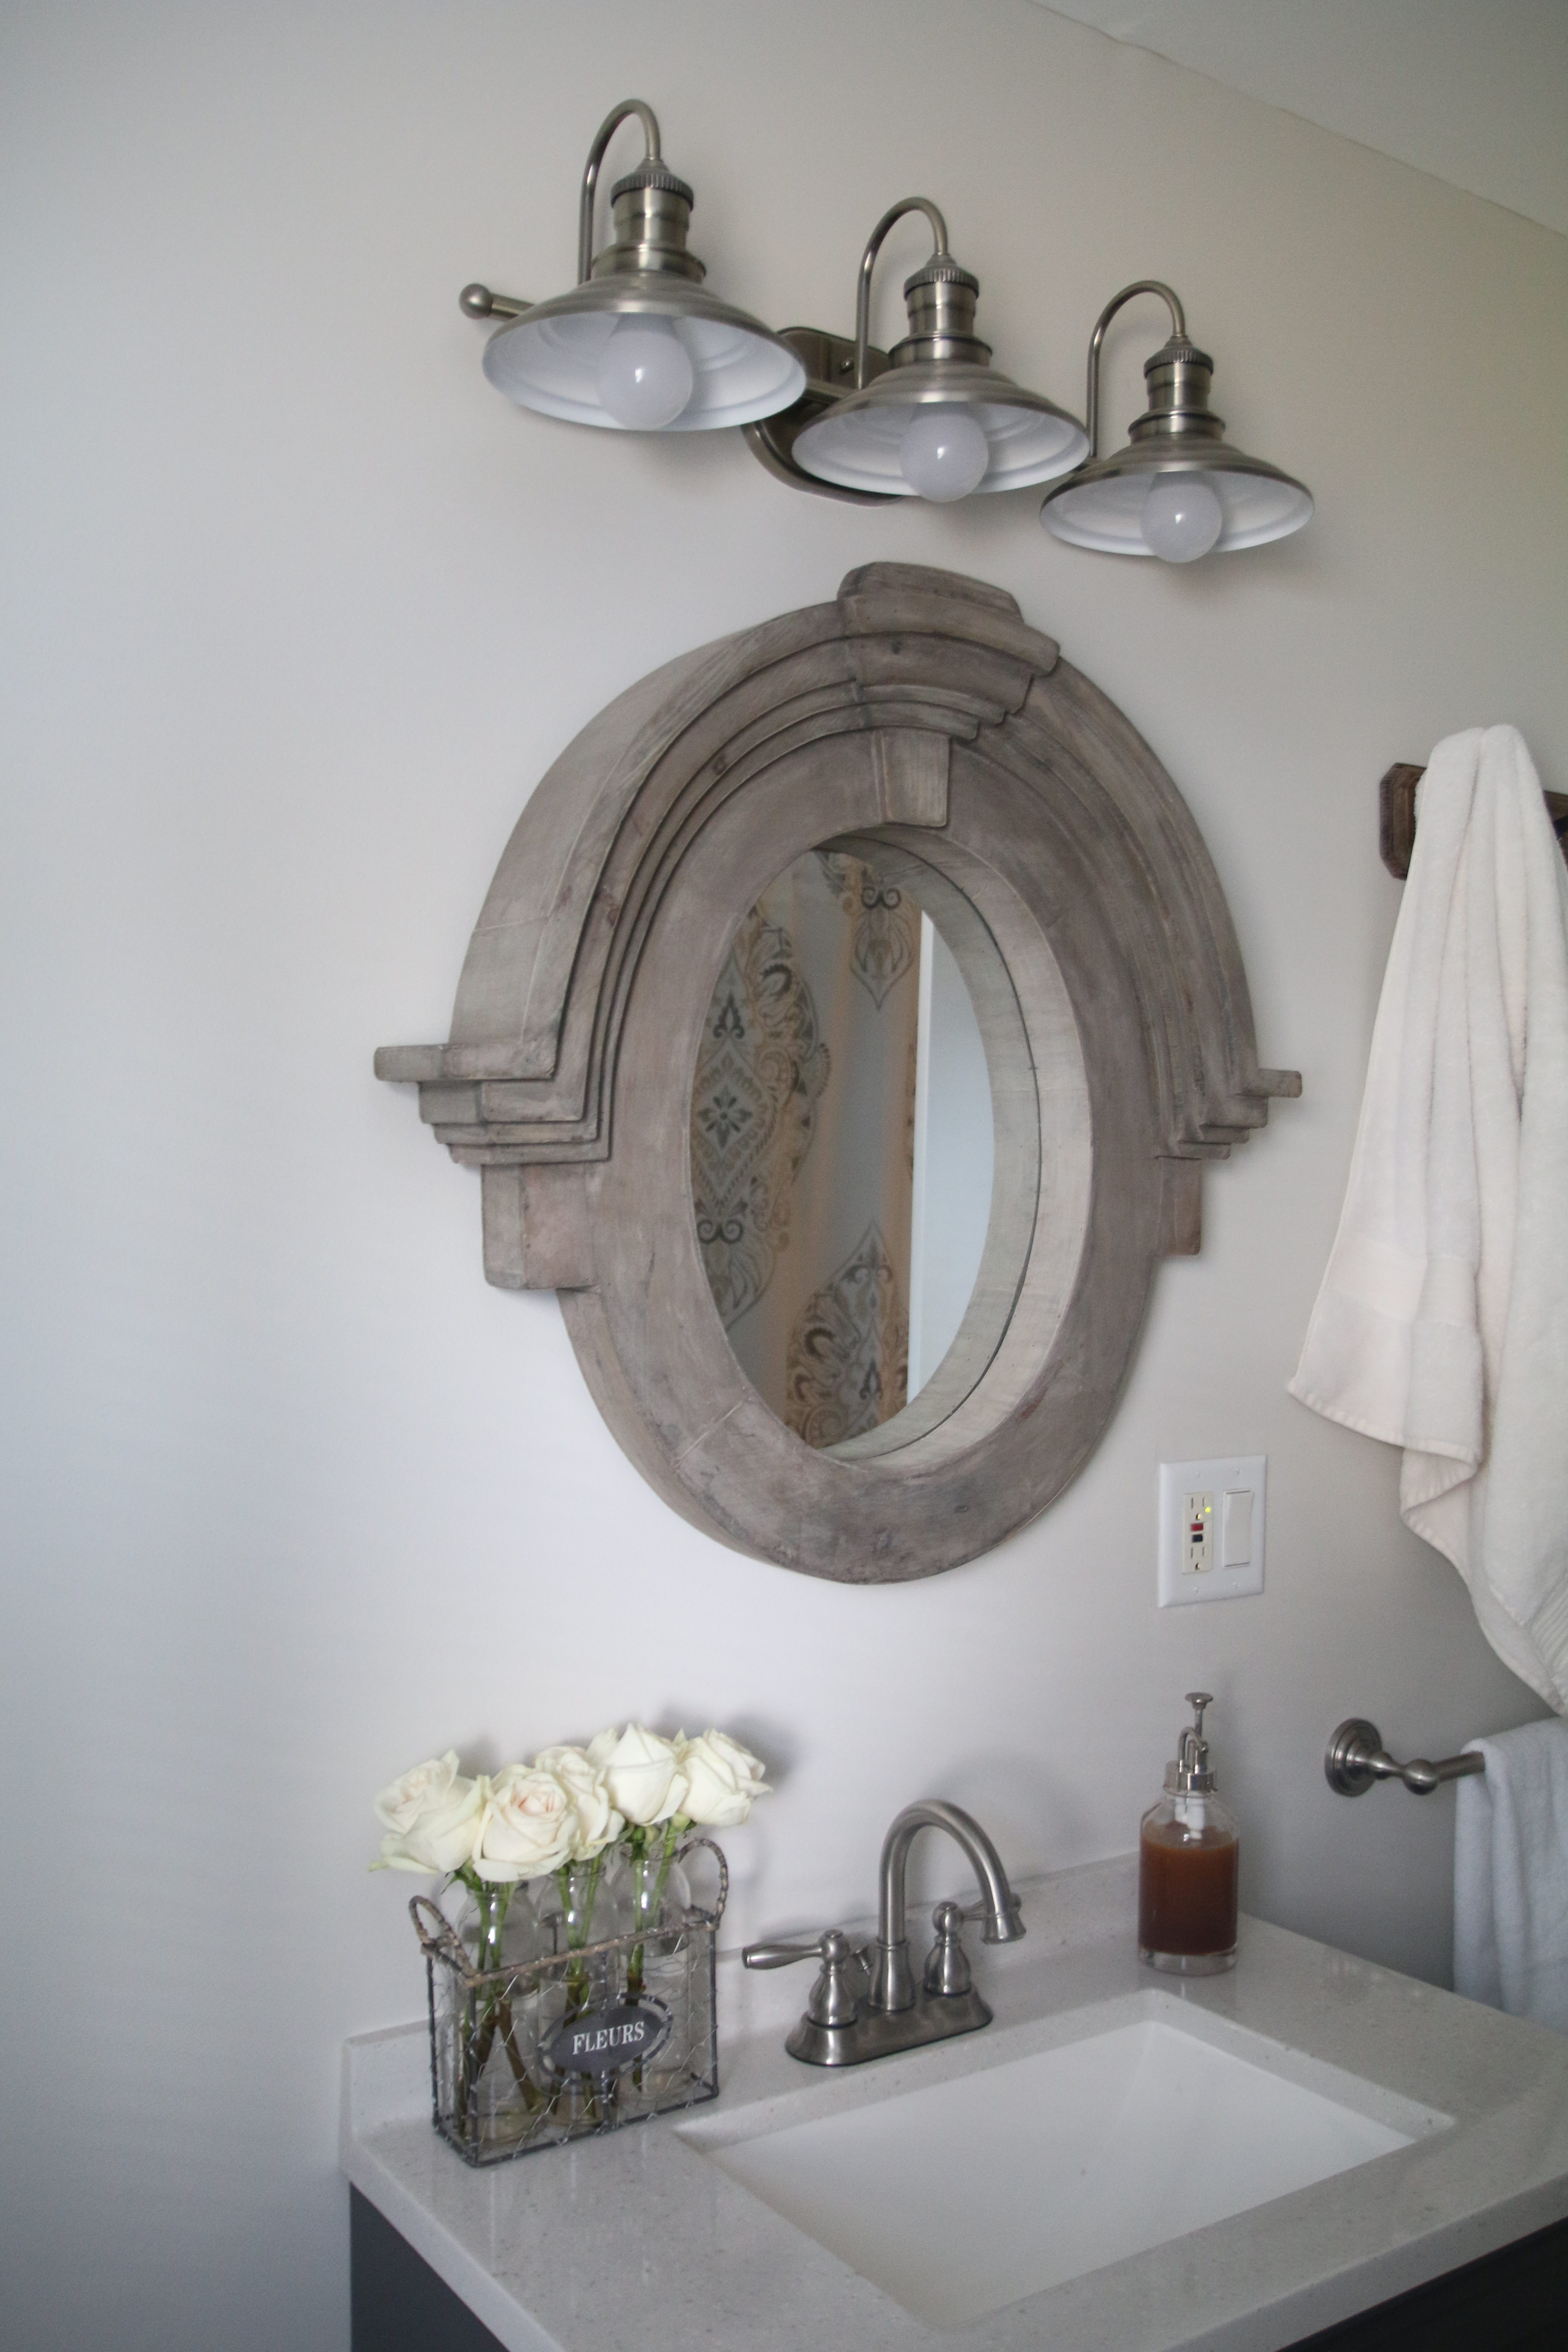
I wanted to go with silver tone finished. I especially love the look of brushed silver so I was really happy at how well the light fixture and the faucets matched the handle/drawer pulls on the vanity. When picking out your metal finishes to give a room a cohesive look, make sure to use the same finishes throughout the room. The light fixture I found at Home Depot
WALL ART:
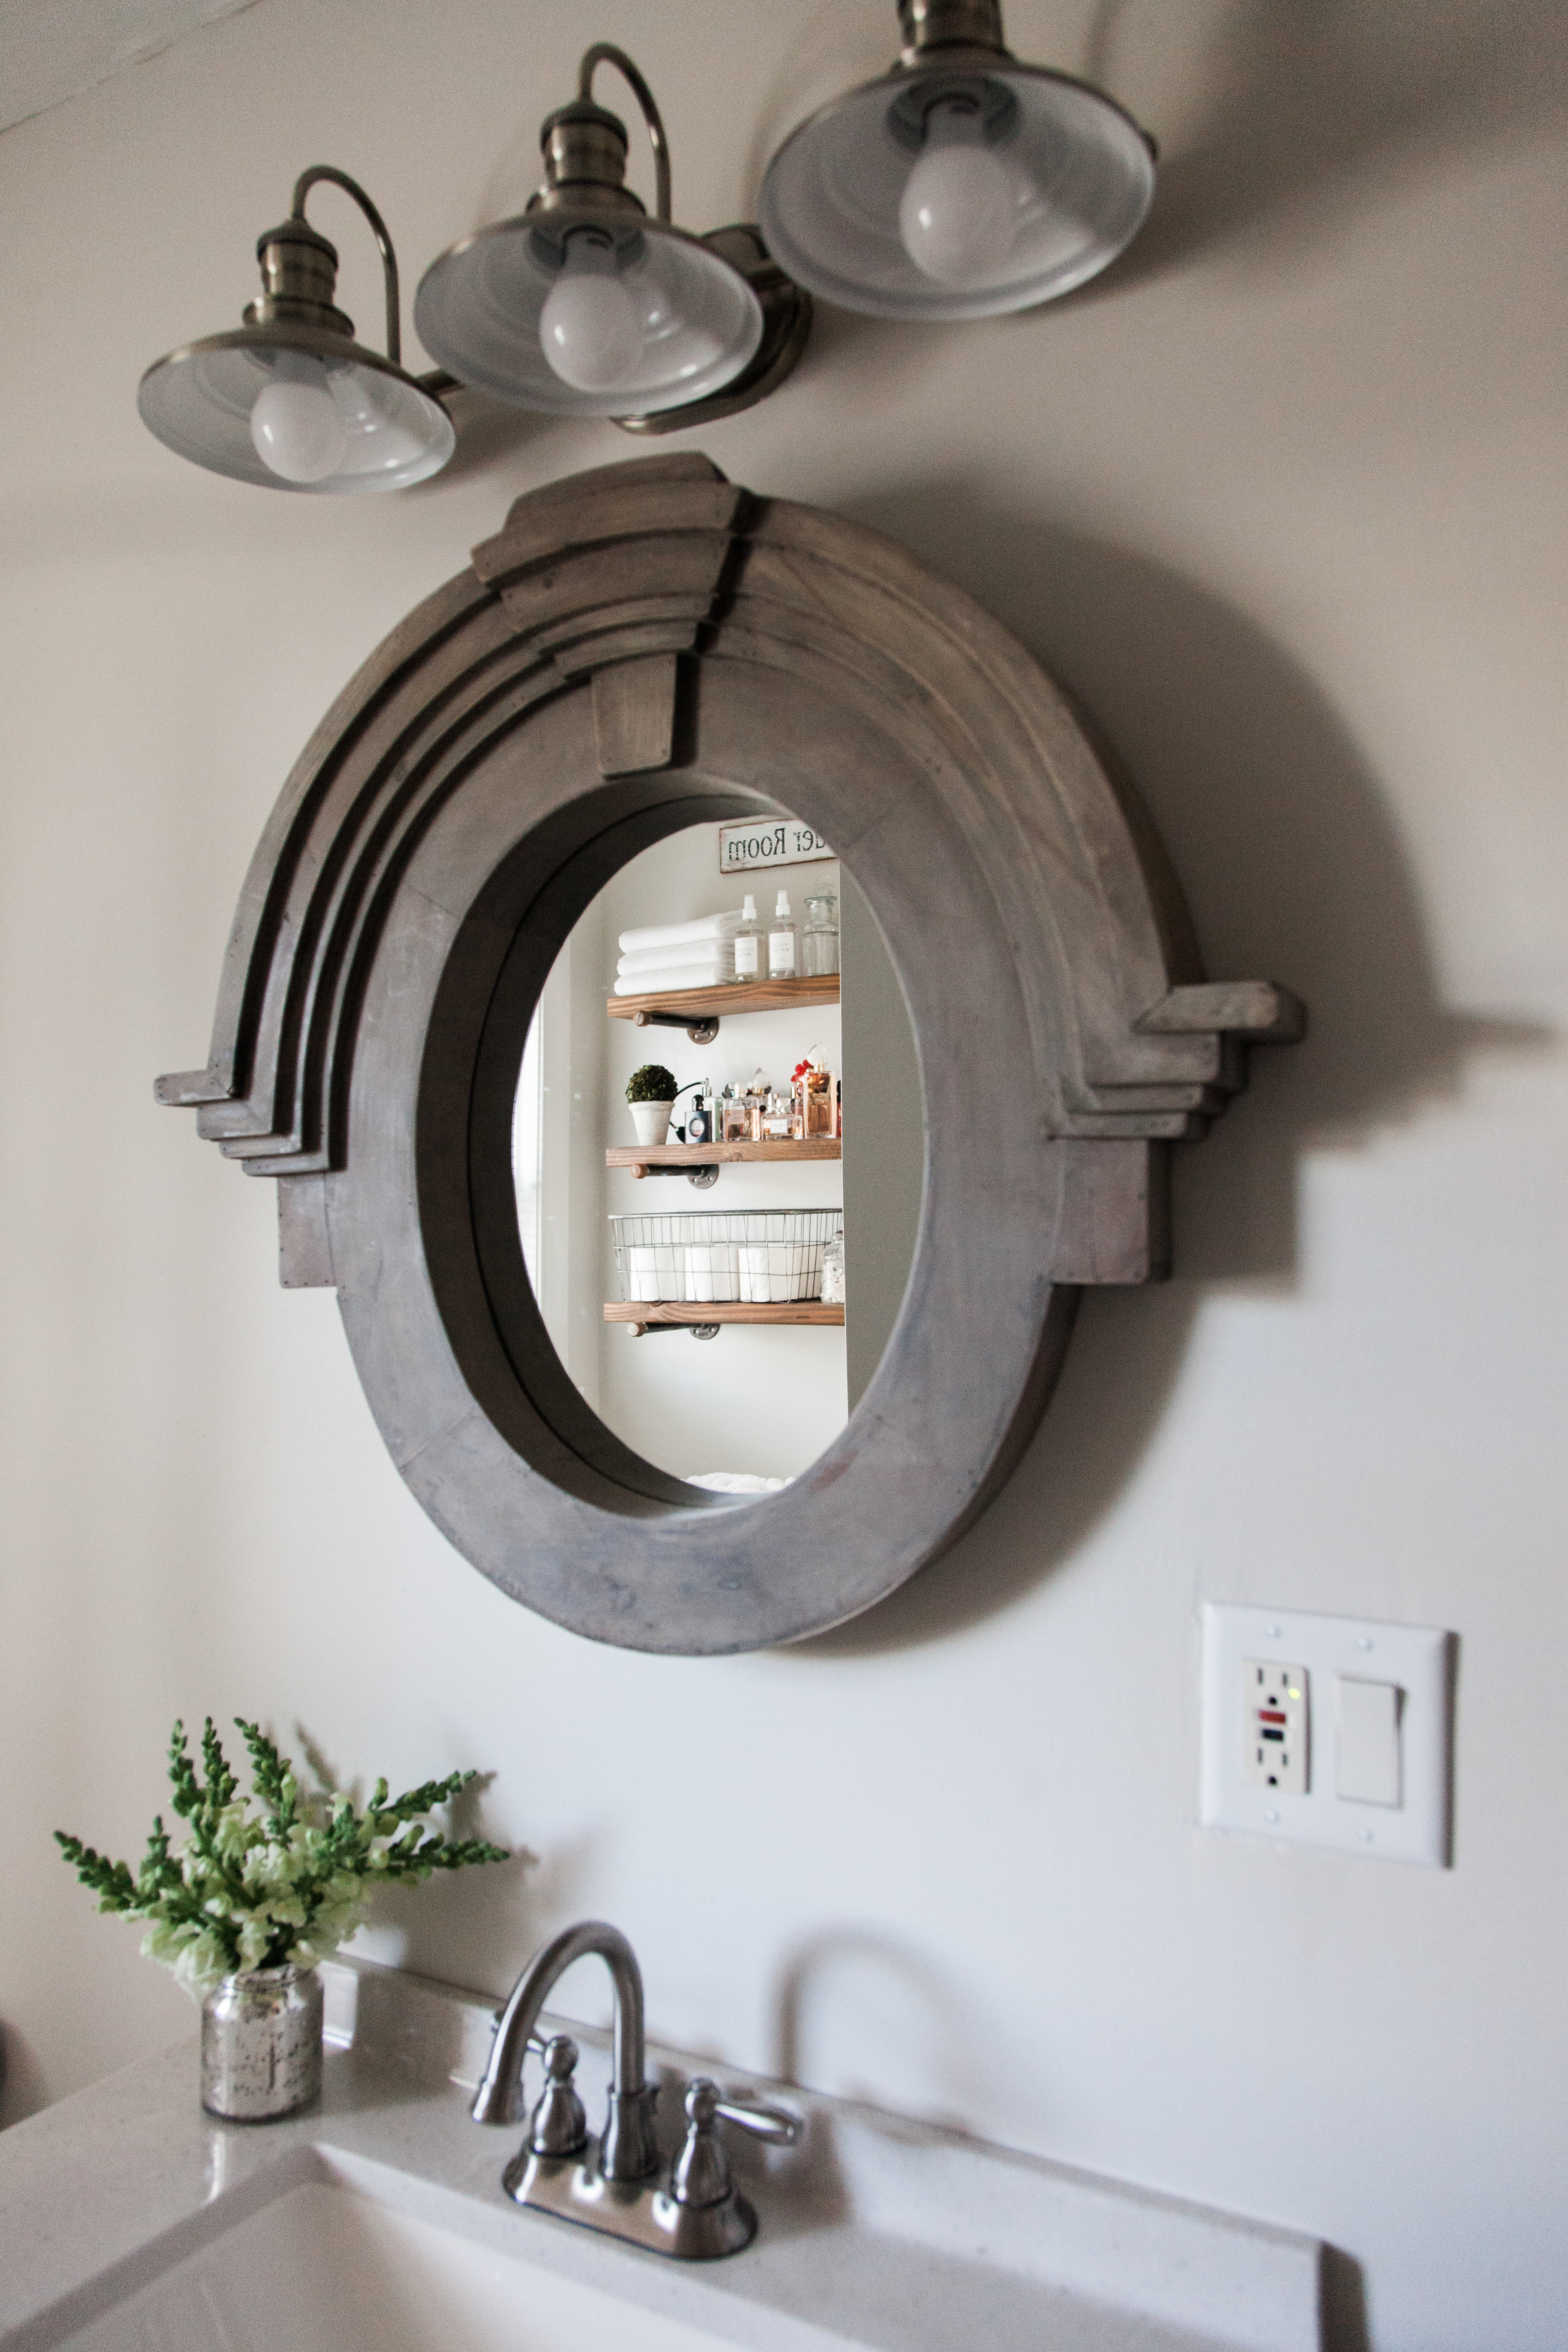
The mirror we found at Restoration Hardware and the metal chandelier art near the toilet from Home Goods.
I hope you all loved seeing the transformation of our little bathroom. We are super happy with how it came out.
AFTER:
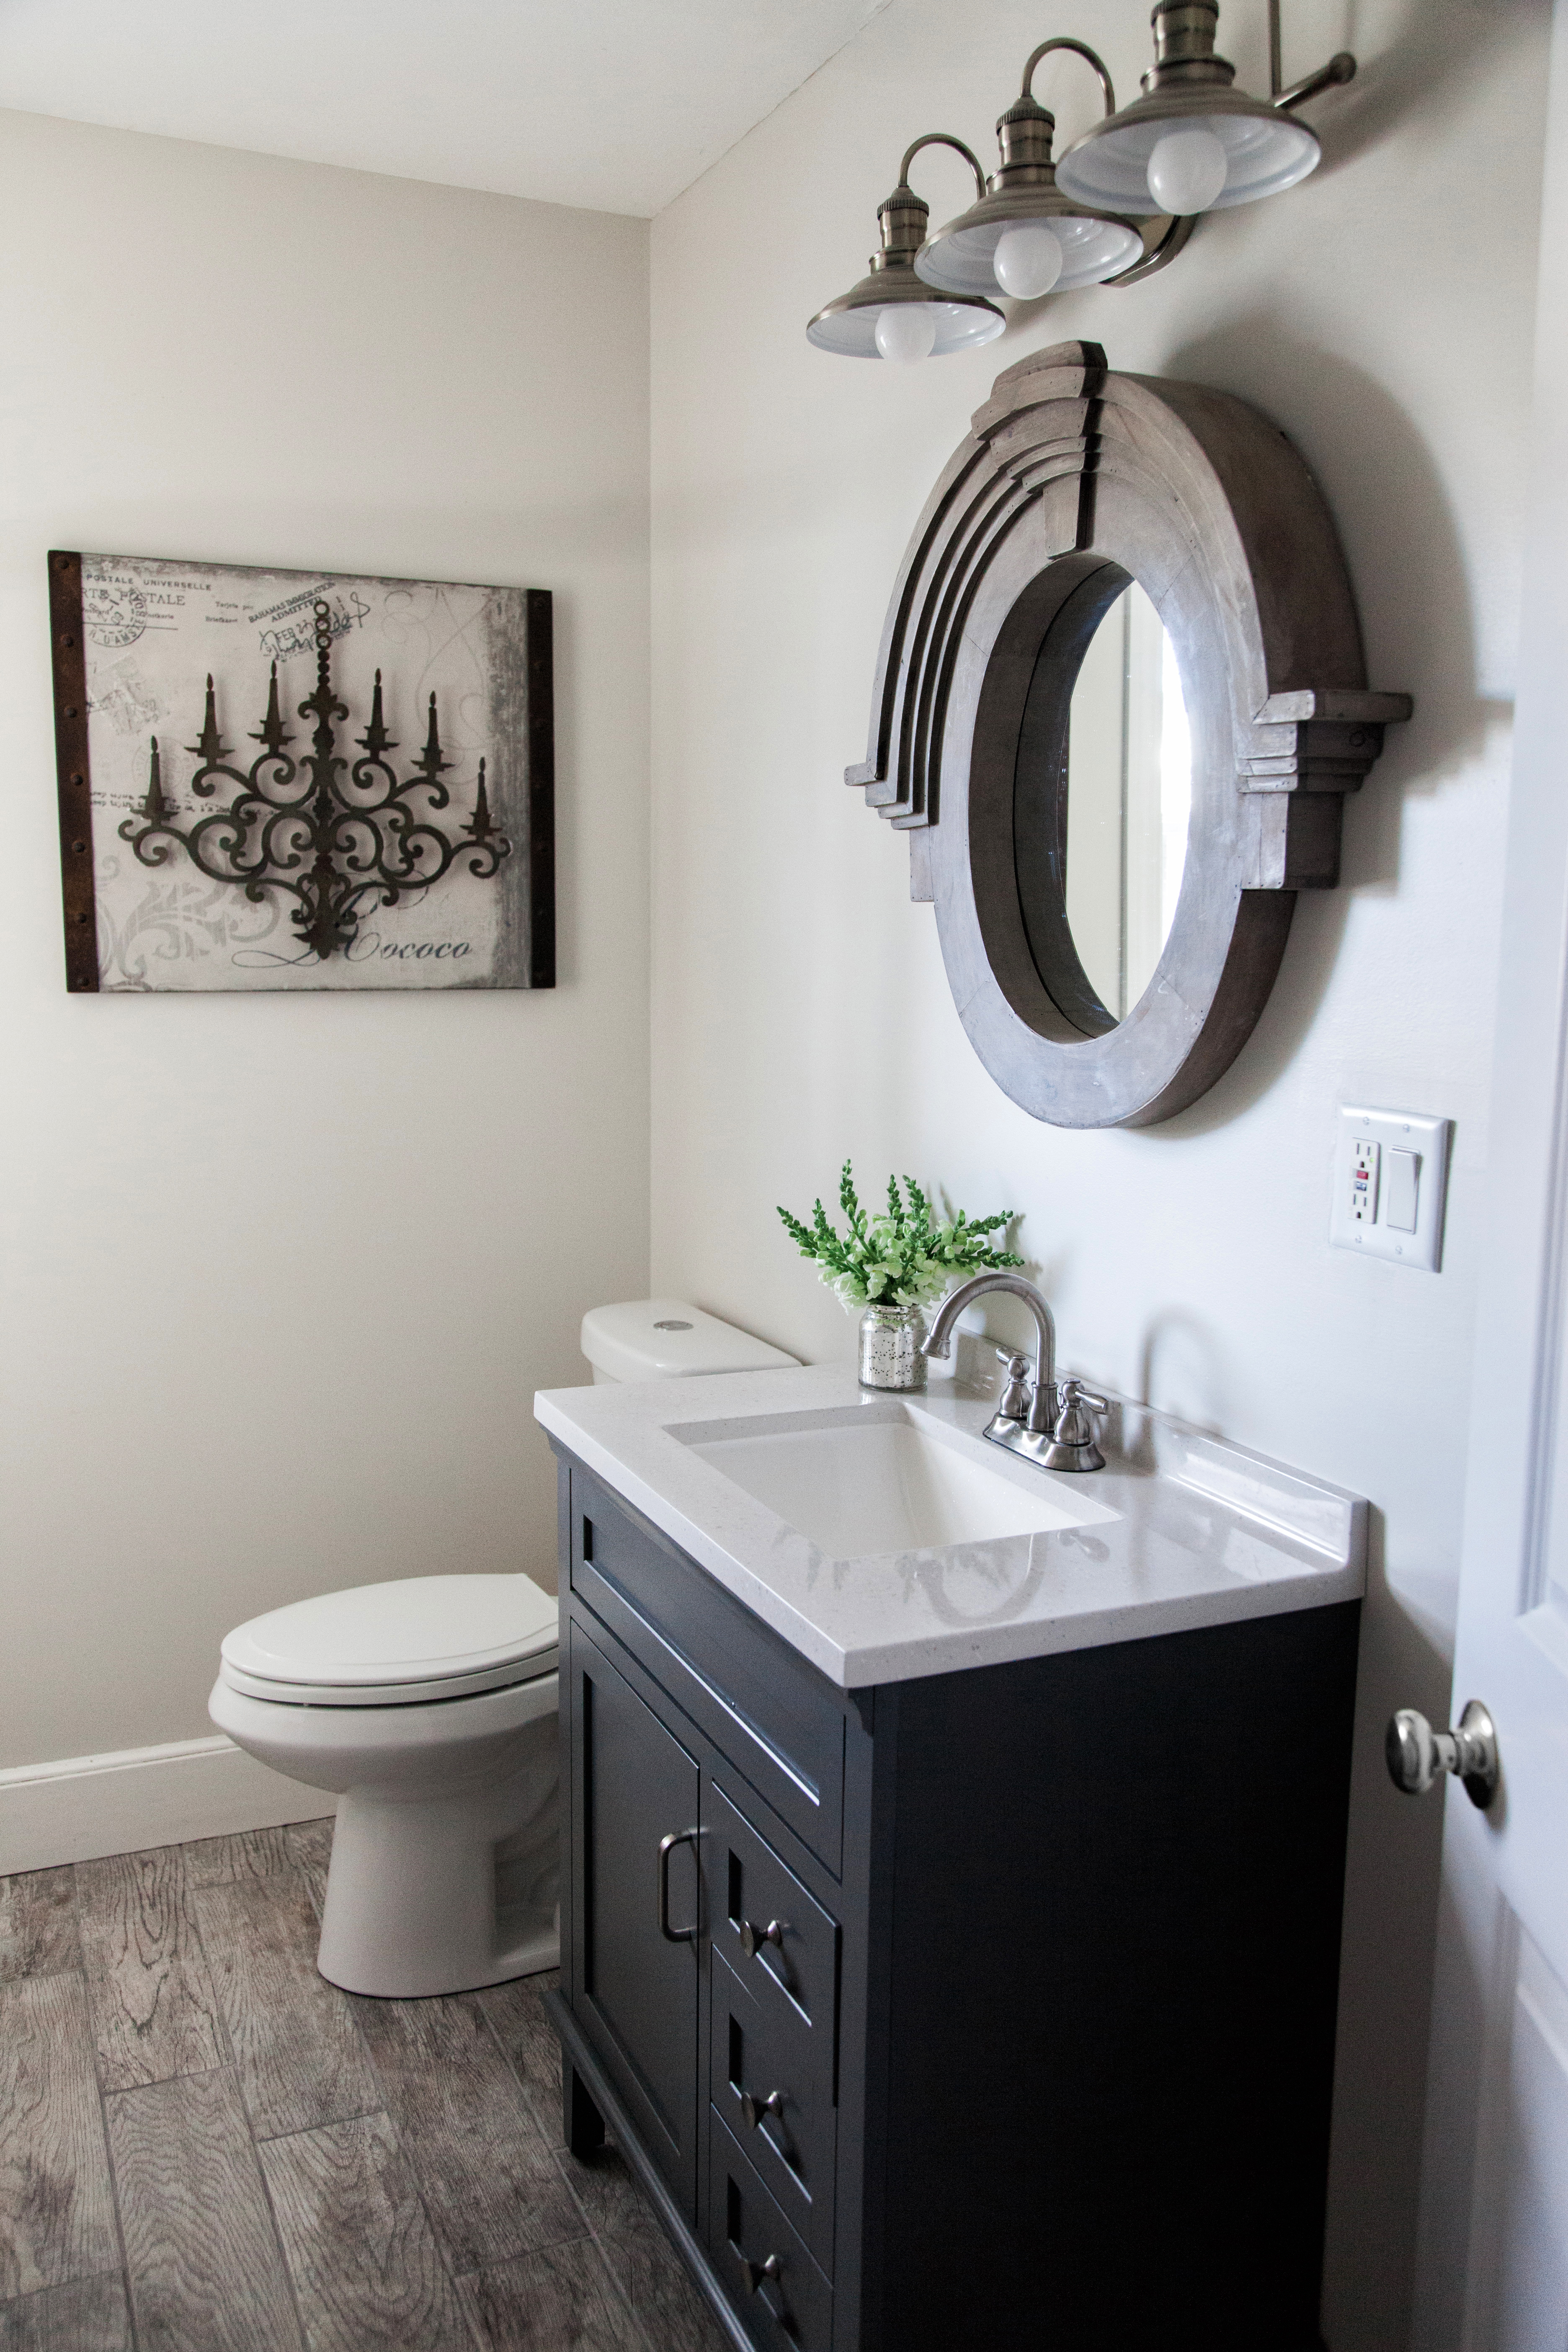
The Mansford Mirror I purchased is from Restoration Hardware. An affordable dupe can be found here
Sandra I love stealing almost everything
Thank you so much Lisa, I’m glad you could find some inspiration 🙂
I just love these ideas to decorate small farmhouse style bathroom. Thanks for sharing the post.
I’m so glad you enjoyed this post. I hope it helps 🙂