
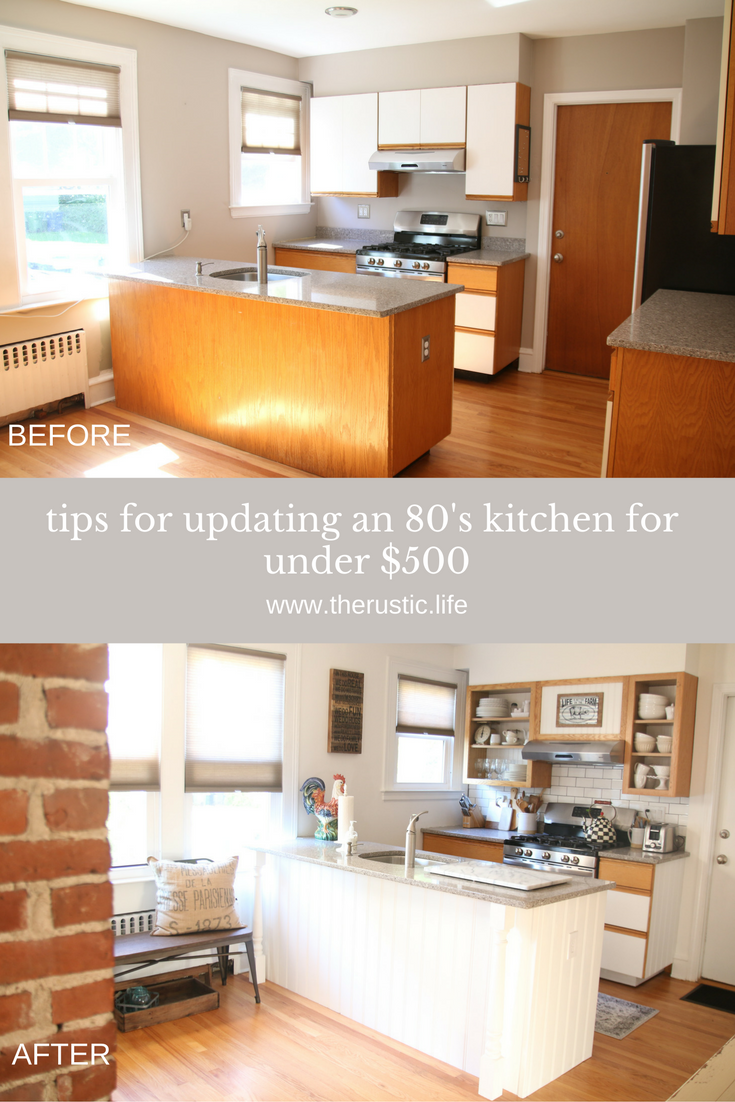
Good morning loves, so excited today to be sharing our budget makeover reveal for our Rustic French Farmhouse Kitchen. When we first found this place, we knew we were happy with the new appliances in the kitchen, but lordie lord, we were looking at the cabinets like OMG…why???? We were DETERMINED to figure out how to make this kitchen over on a budget. We did the entire thing for under $500 (of that $500, $200 was for labor for the backsplash) Yes, you read that right all under $500! We are so very happy with how the kitchen came out. We didn’t want to get into a big painting project or to pay for refacing or new cabinets right now, so we did small things that made a big impact. Let’s get to it shall we:

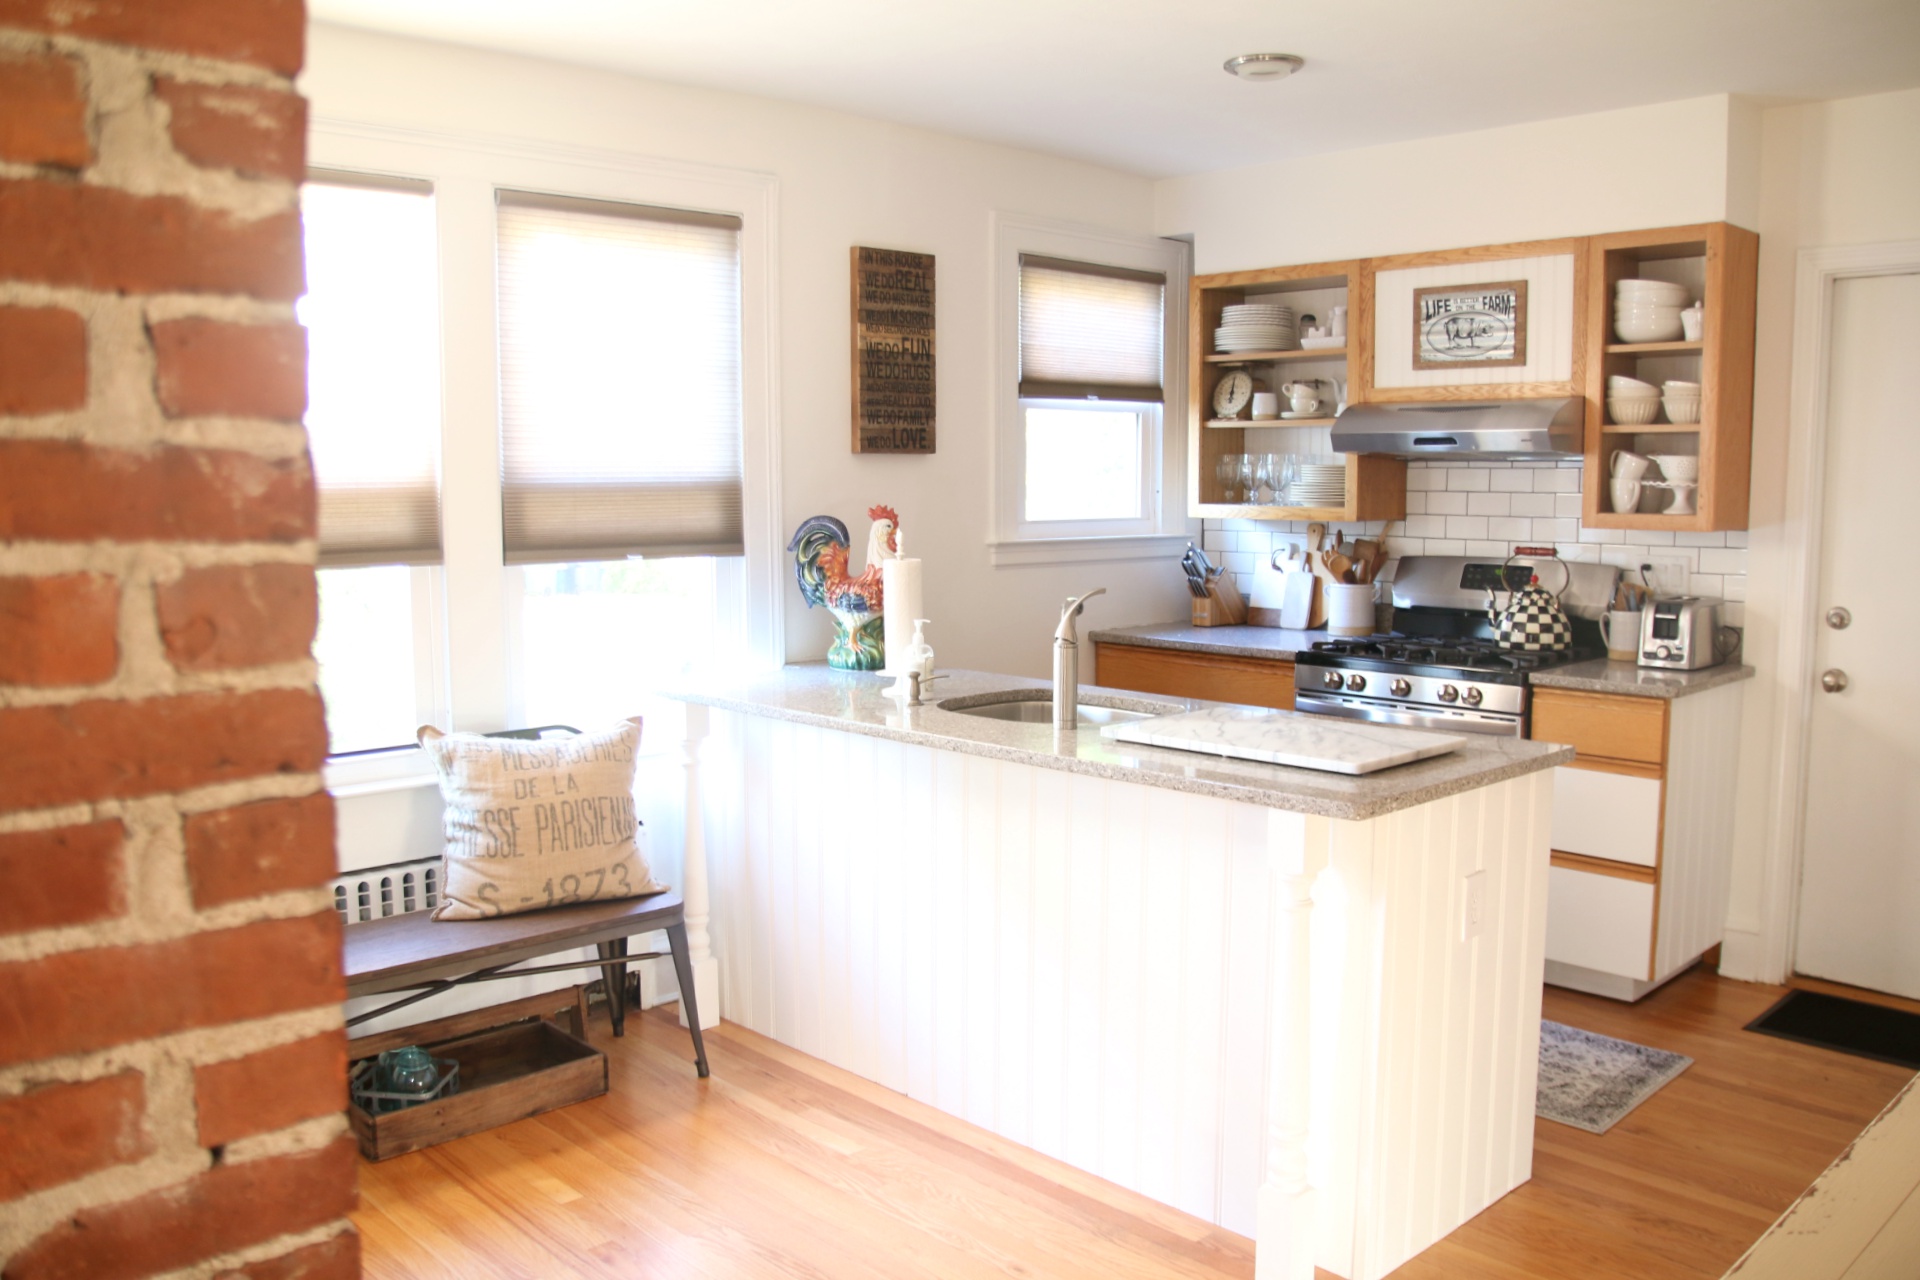
We didn’t really care for the wood color of the column. We felt it was competing against the beauty that was the brick. We applied ready patch to the wood to hide the wood grain from coming through. Then we painted it with Kiltz primer, and then it was was painted white.

Sorry about the morning sunlight creating a yellowish hue to the column in this photo.

You can see here how pretty the column looks white against the wood. The rug and chairs we found at Home Goods/Marshall’s and the light fixture from Lowe’s. We got the smaller of the two sizes available for the lighting fixture. Find it HERE. The table is a reclaimed store find and it was a steal for $75.
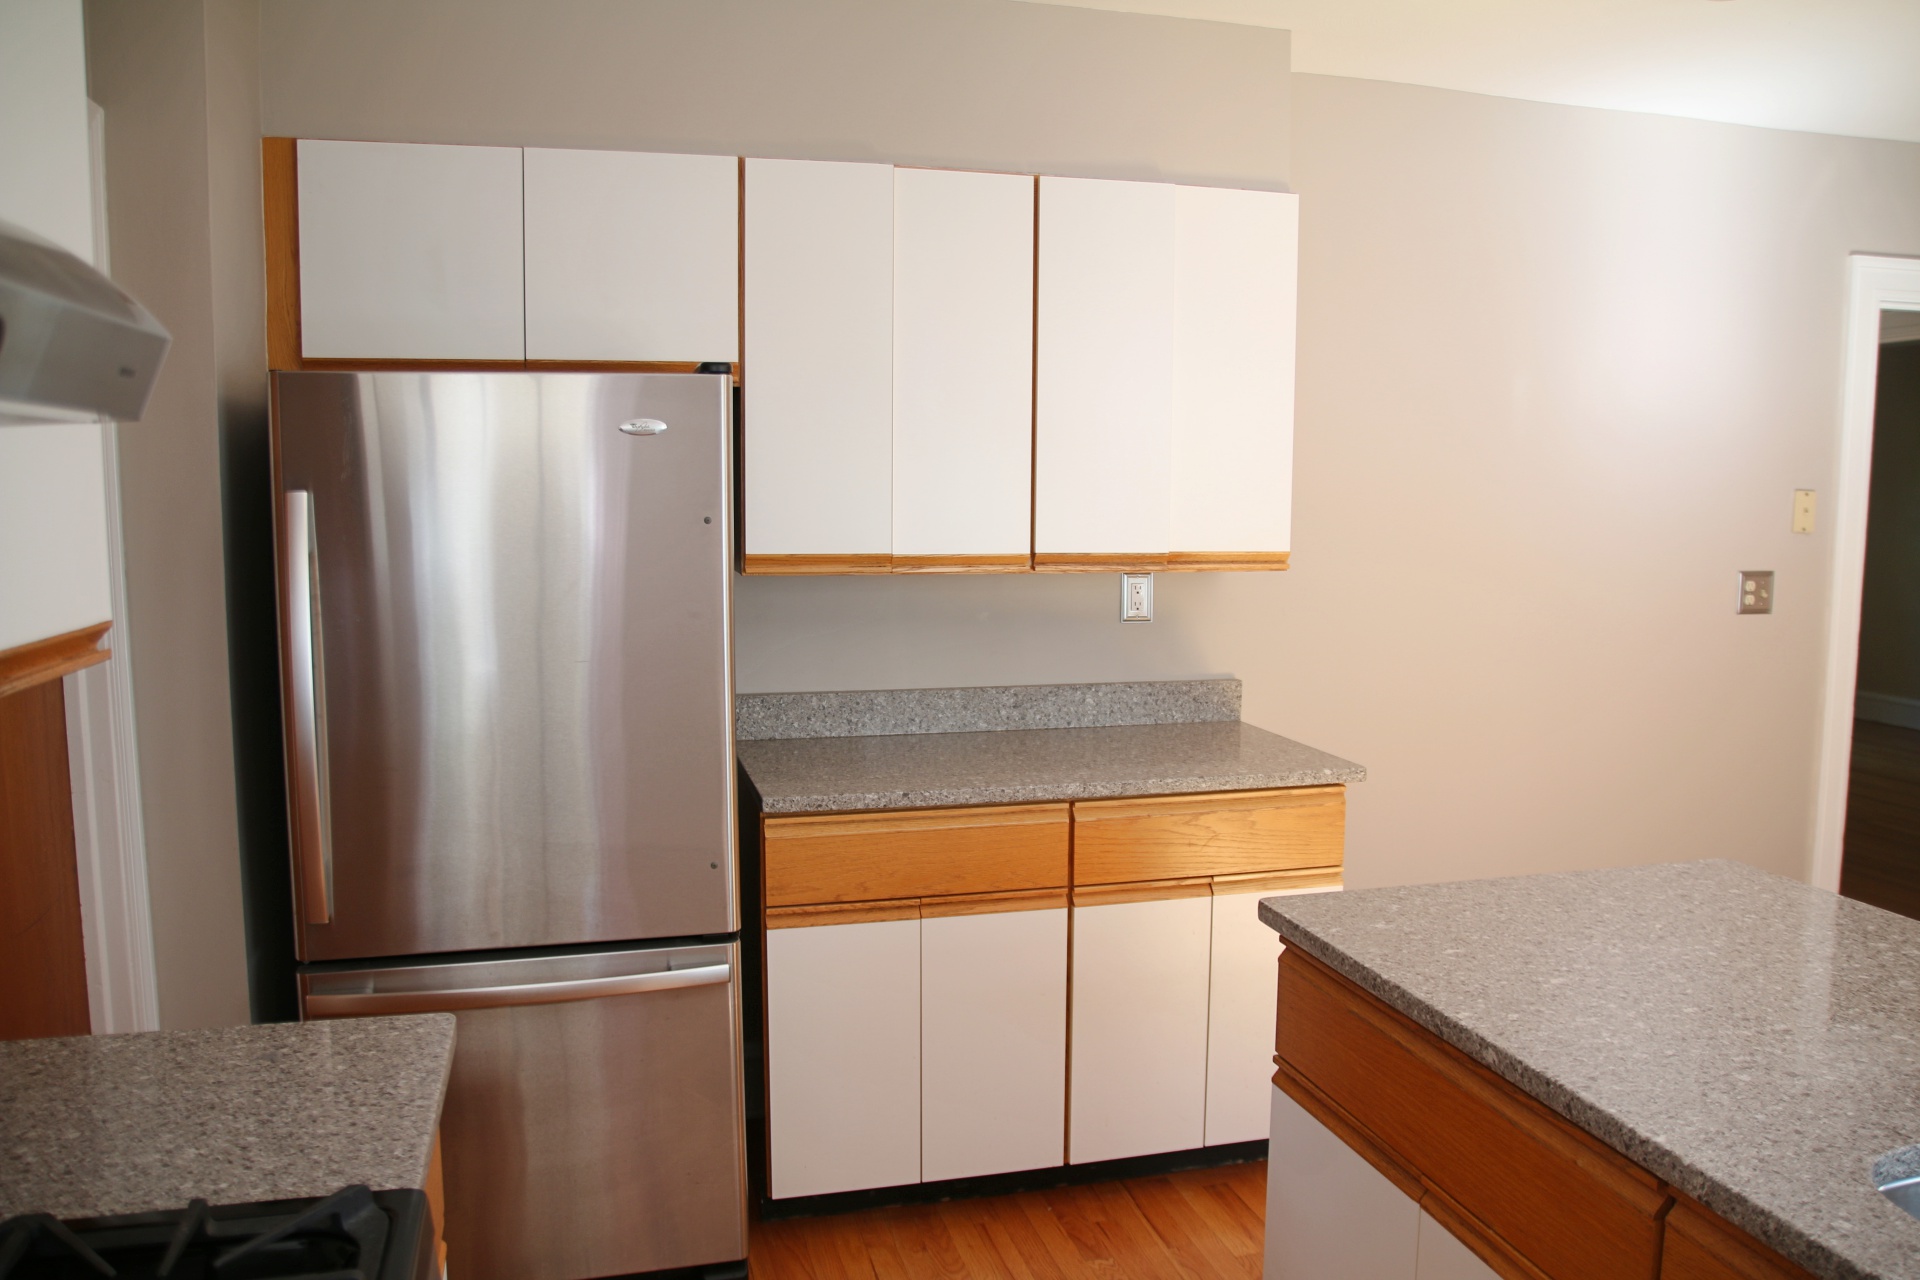
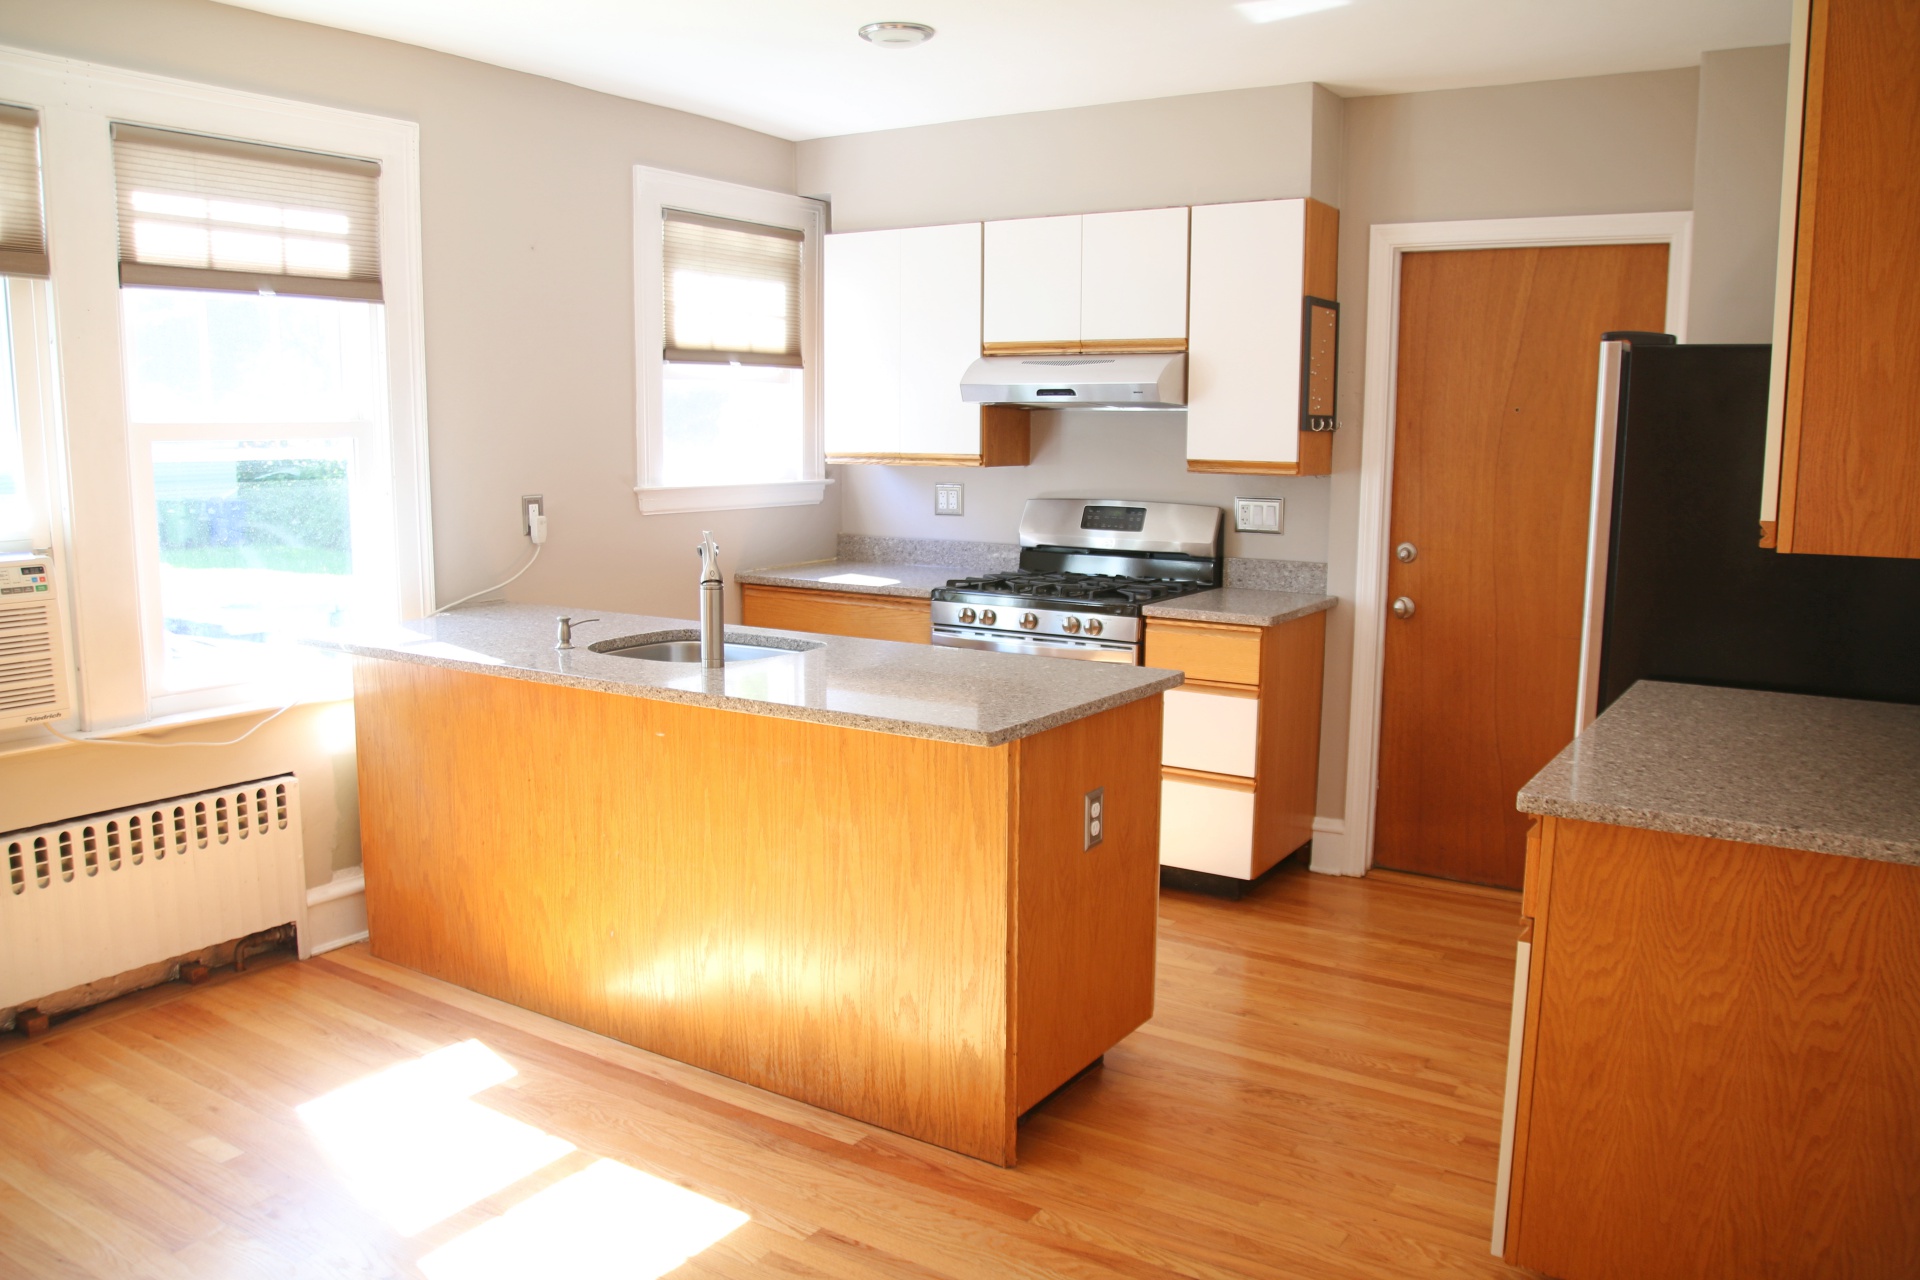
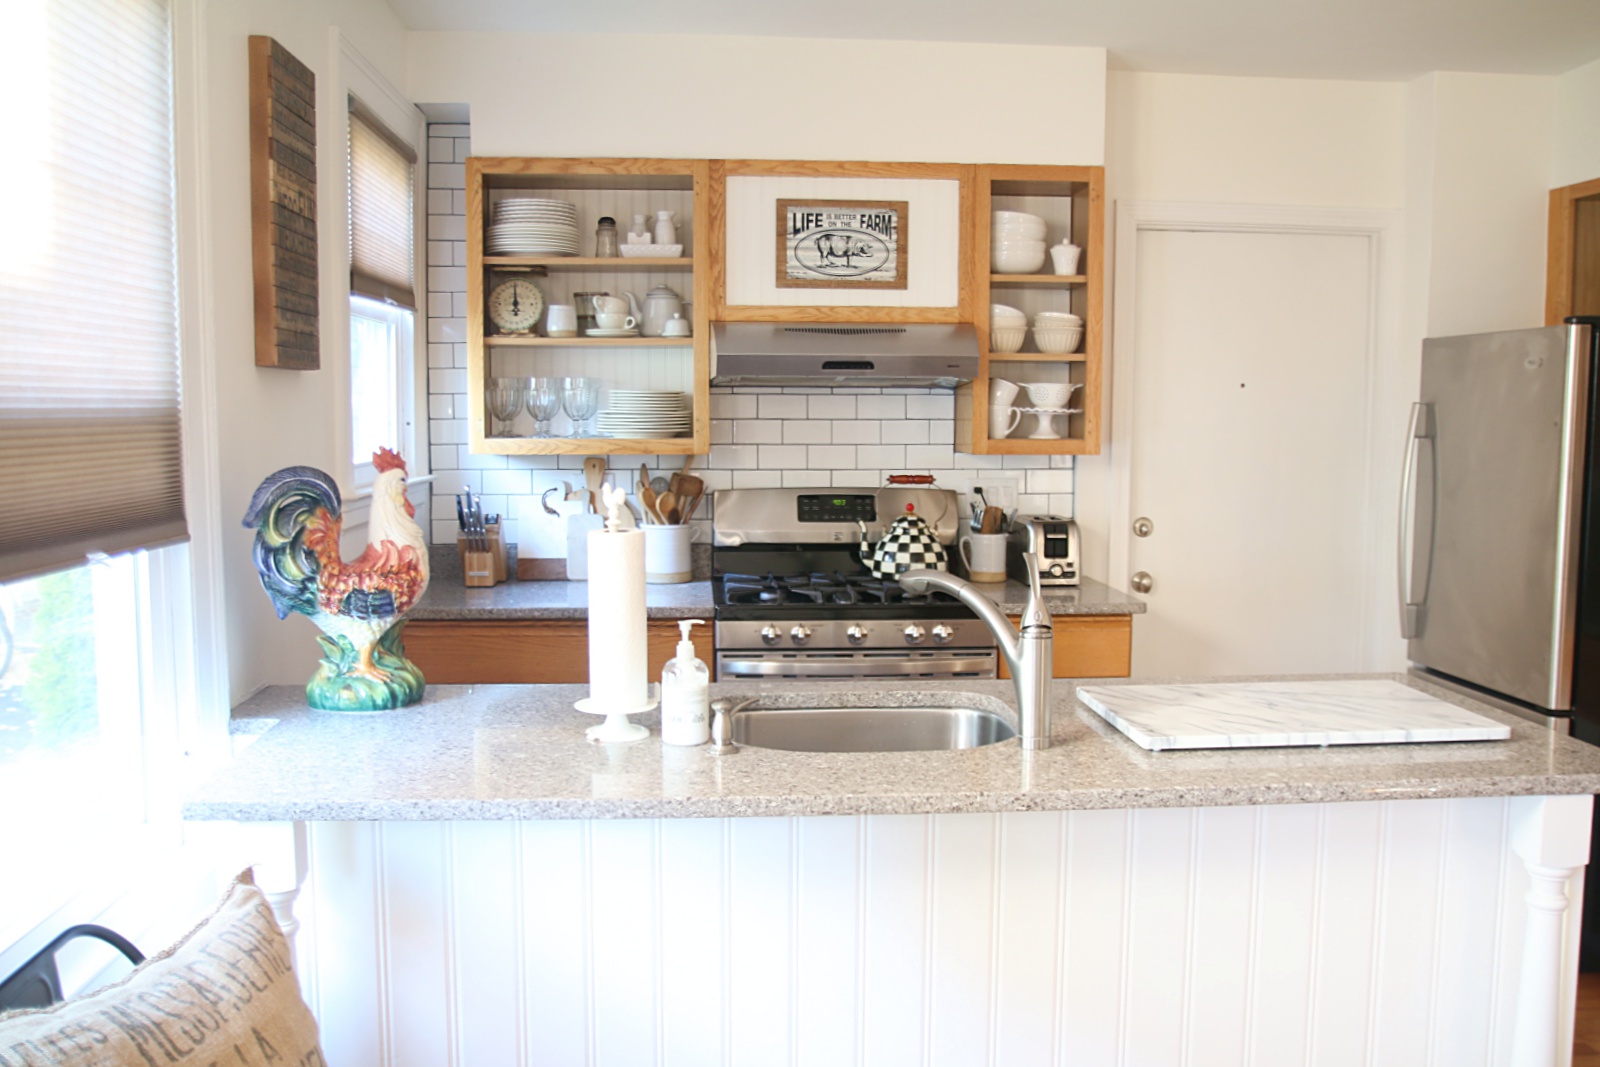
So as you can see, the other side of the kitchen was VERY blah and VERY 80’s. We painted the walls in the kitchen Simply White. We thought the gray just stood out so much and was to busy with the oak wood and white cabinet doors. The cabinet doors also got a good cleaning using Soft Scrub to brighten and whiten them.
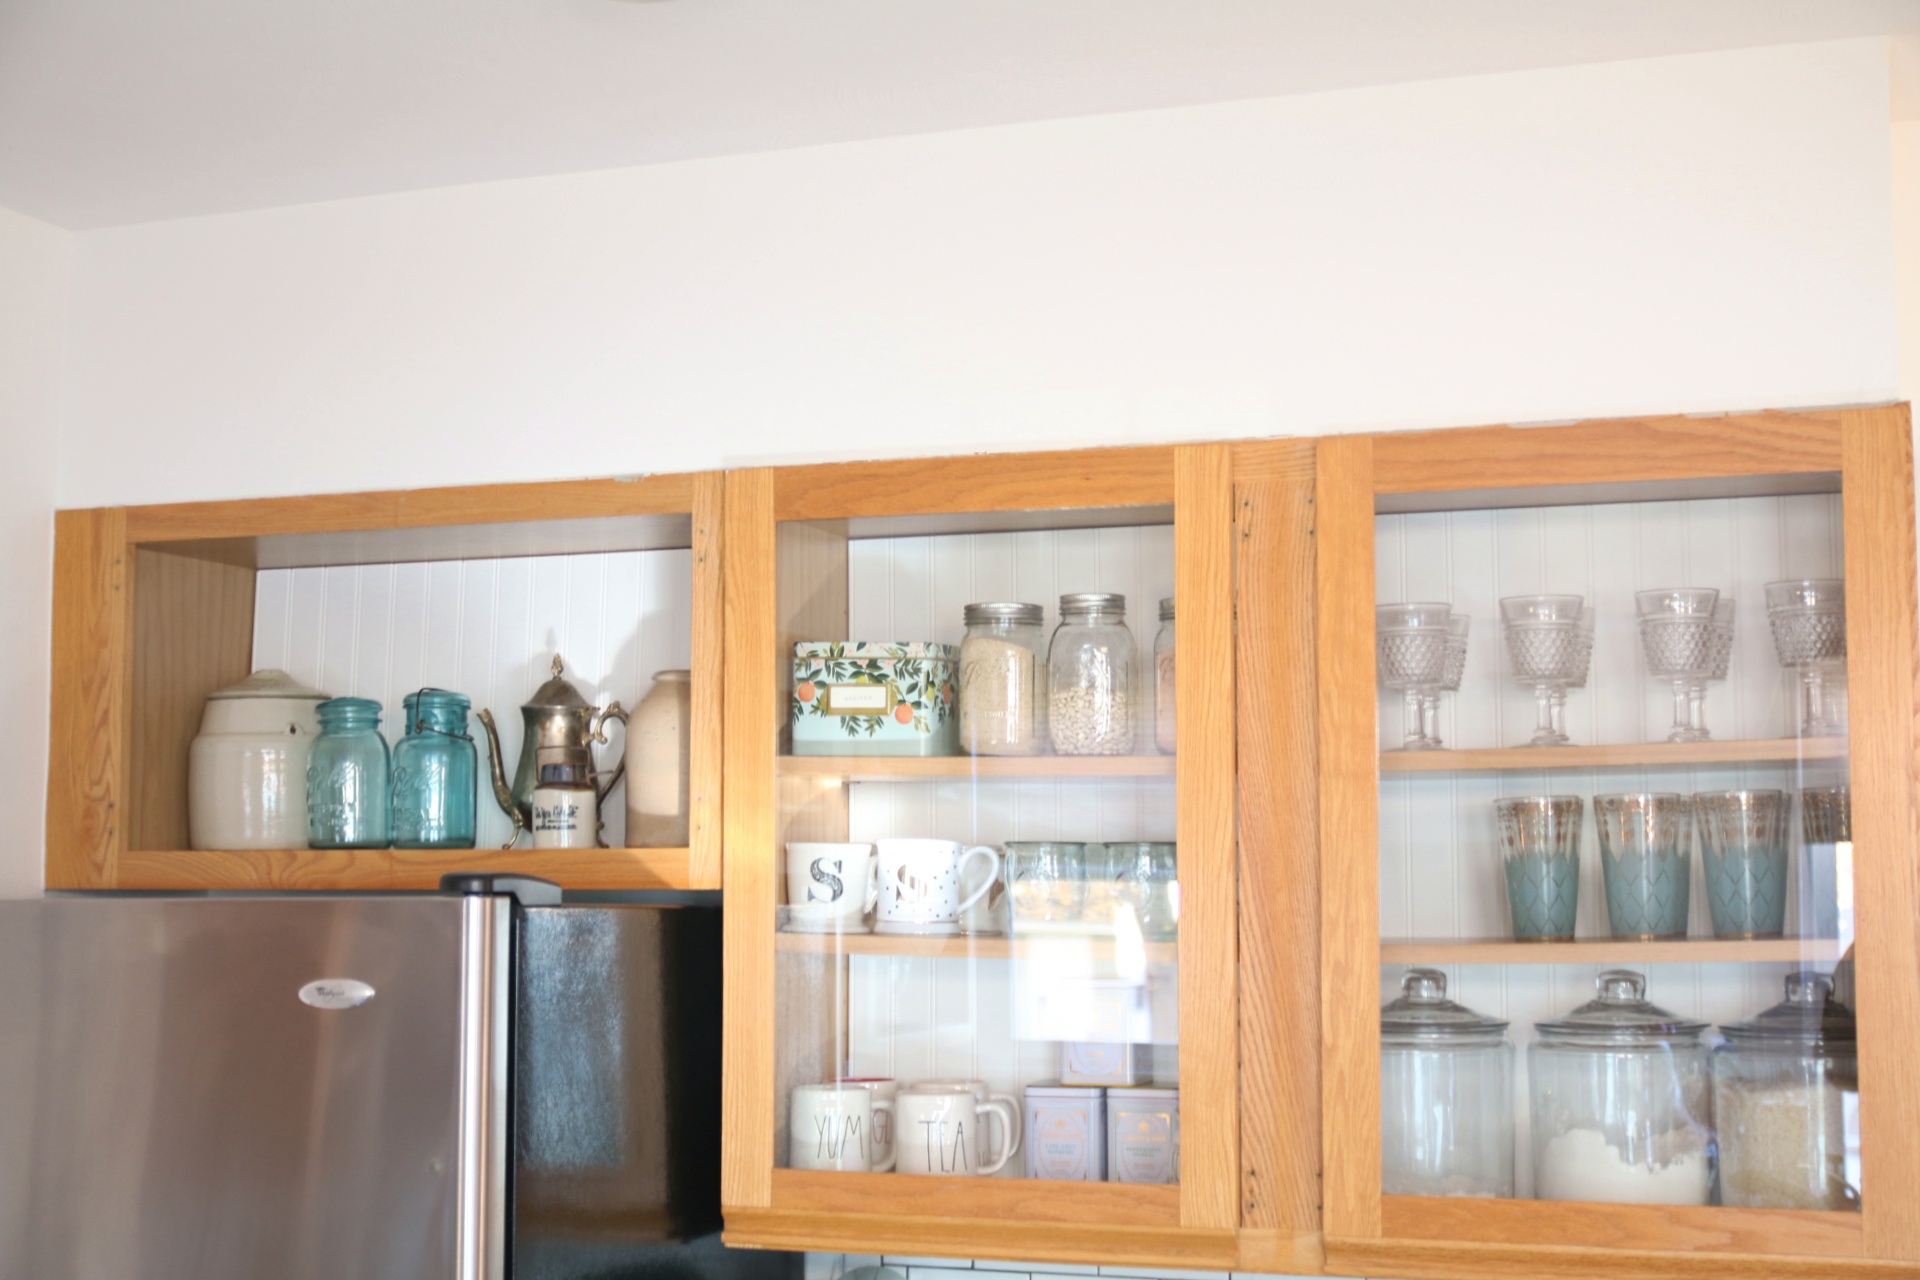

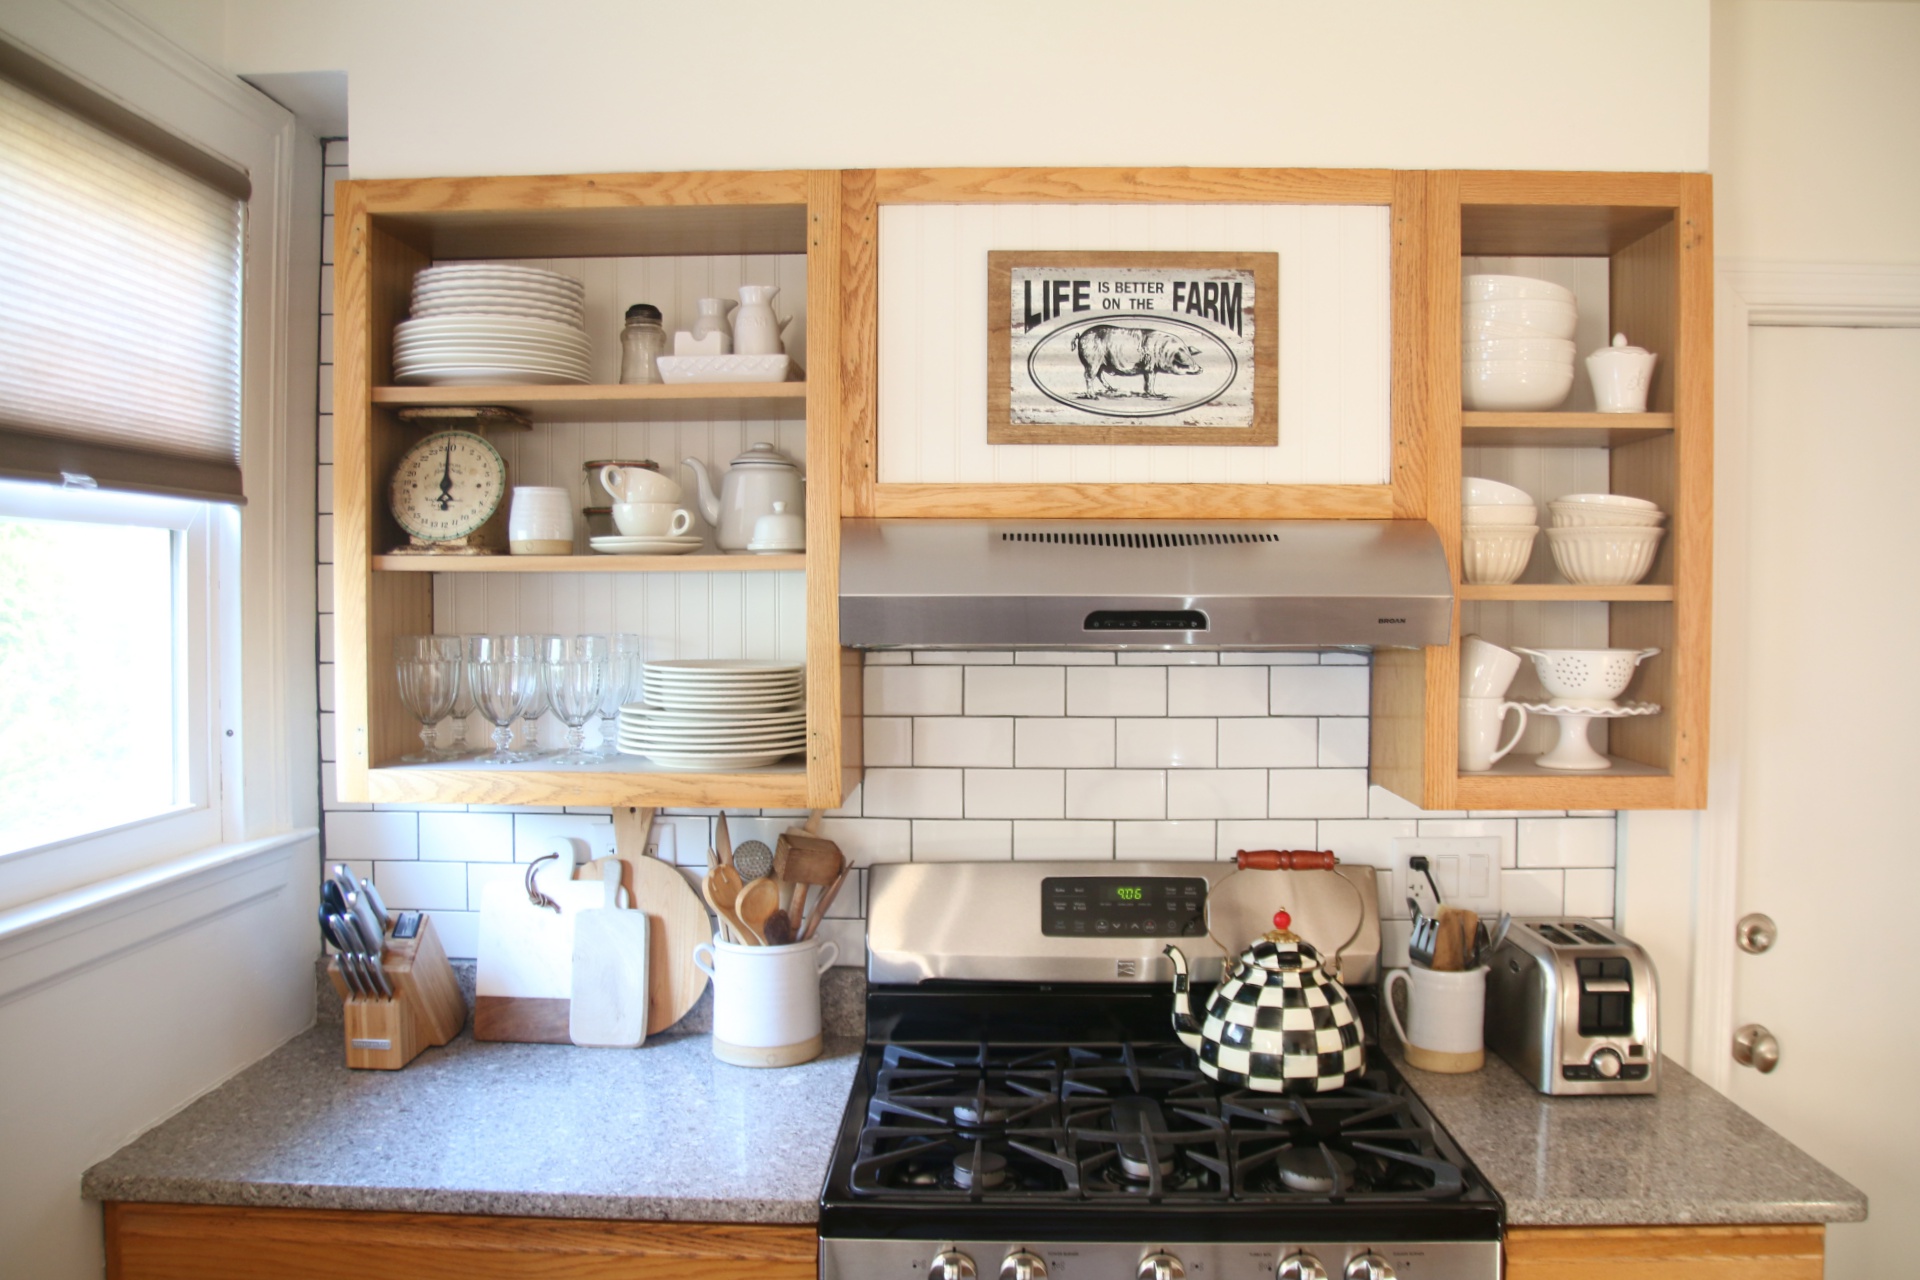
We relocated the glass doors from another part of the kitchen, just so as to not have open cabinets everywhere. We added the white wainscoting to the backs of the cabinets, to brighten and update them and to give a pretty contrast to the oak cabinets. We think the cabinets have an overall nice updated esthetic to them with the wainscoting added to them.
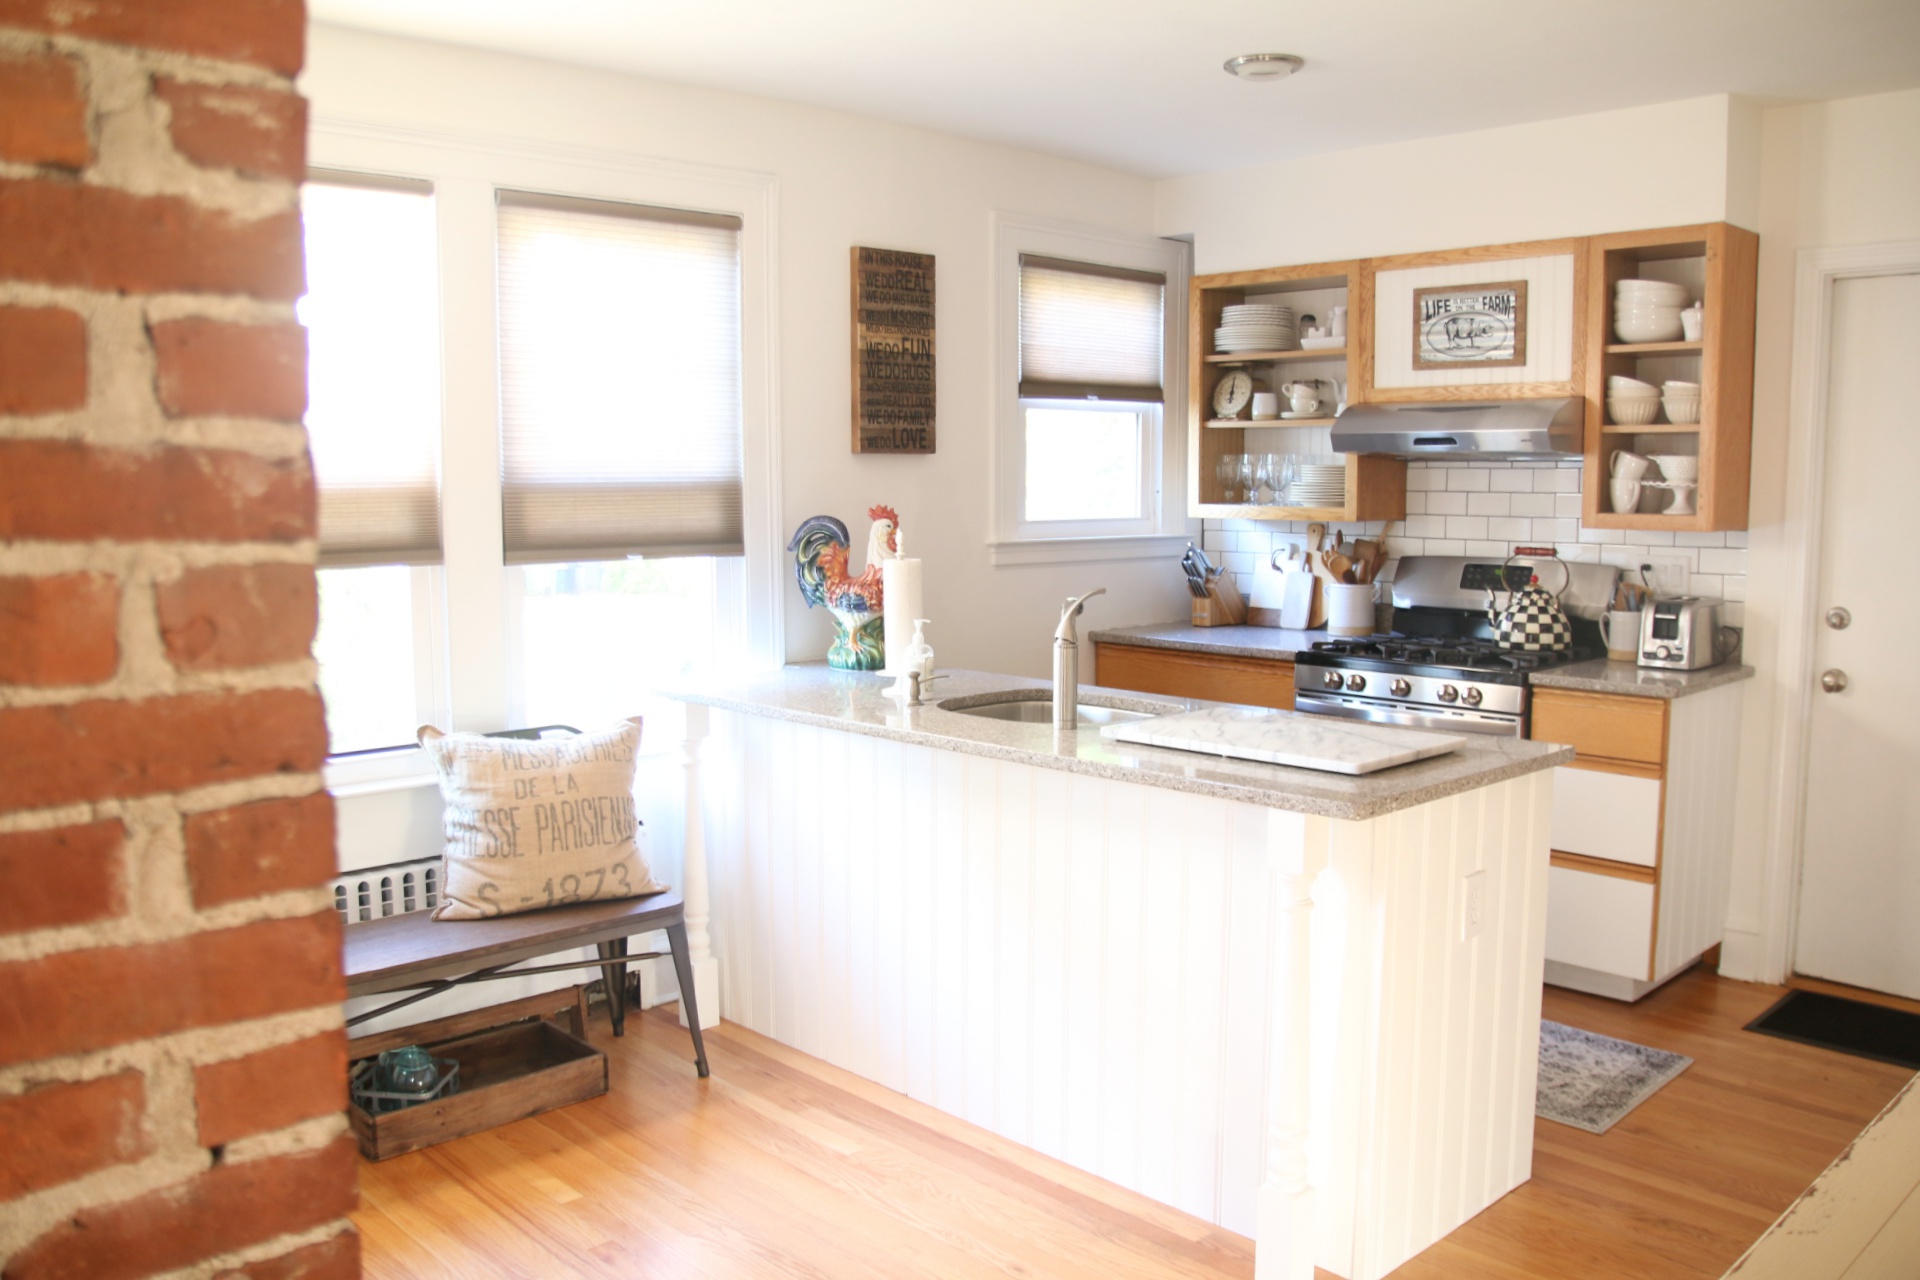
The kitchen island was the hardest thing to make look prety. It was soooooo oaky (meaning when we looked at it, because of it’s larger size, the oak was just so in your face) To remedy that, we added a wide panel wainscoting to all sides of the island. We also added two newels (we found these in the stairs aisle) to the island on either side to give a more “fancy look”. We took off the cabinet doors to create an open pantry concept and again added a white subway tile back splash in this area. Behind the Life Is Better on The Farm sign, is the venting pipe for the stove hood. We thought it was a simple way to conceal it.
So here is the breakdown of the budget:
$200 Installation of the backsplash by a professional tiler
$39.79 Tile + Grout
$18.97 3/16″ x 4′ x 4′ Wainscoting Bead Panel
$29.97 1/4″ x 4′ x 8′ Wainscoting Bead Panel
$37.91 Newel Posts for the Island (2)
$2.61 Trim for the island
$31. 75 Paint
$7.98 Ready Patch
$20.98 Kilz Primer
TOTAL BUDGET: $389.96
Well loves, I hope you are inspired to see that it shouldn’t cost you an arm and a leg to update your outdated 80’s kitchen. You can now see my kitchen reveal featured on Shutterfly!
Sandra, beautiful transformation. Your kitchen has a ton of natural light which adds to the inviting feel. Love the brick wall. I’ve been following your IG feed for a while and I’m in love with your style. Thanks for sharing!
Marsha, thank you so very much for your friendship and support. Means so much! Have a wonderful day!